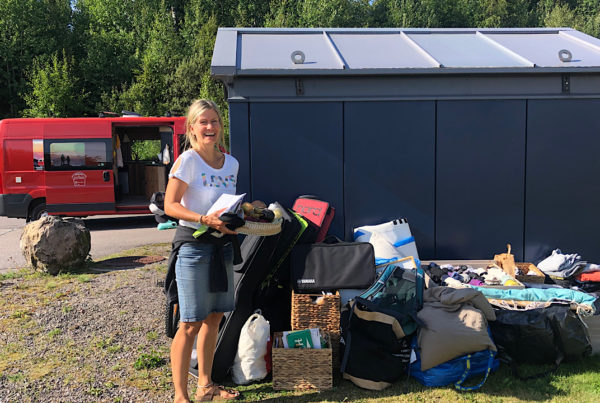
Det har gått noen uker siden del 1 av prosjektet ble klart, og etter maaaaange superfine timer med mye jobbing i bilen begynner vi å se målet 😀
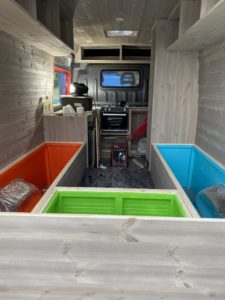
I wanted to have some color in the car, and found the happiest colors I could find. Then it was just a matter of getting started and painting the storage boxes.
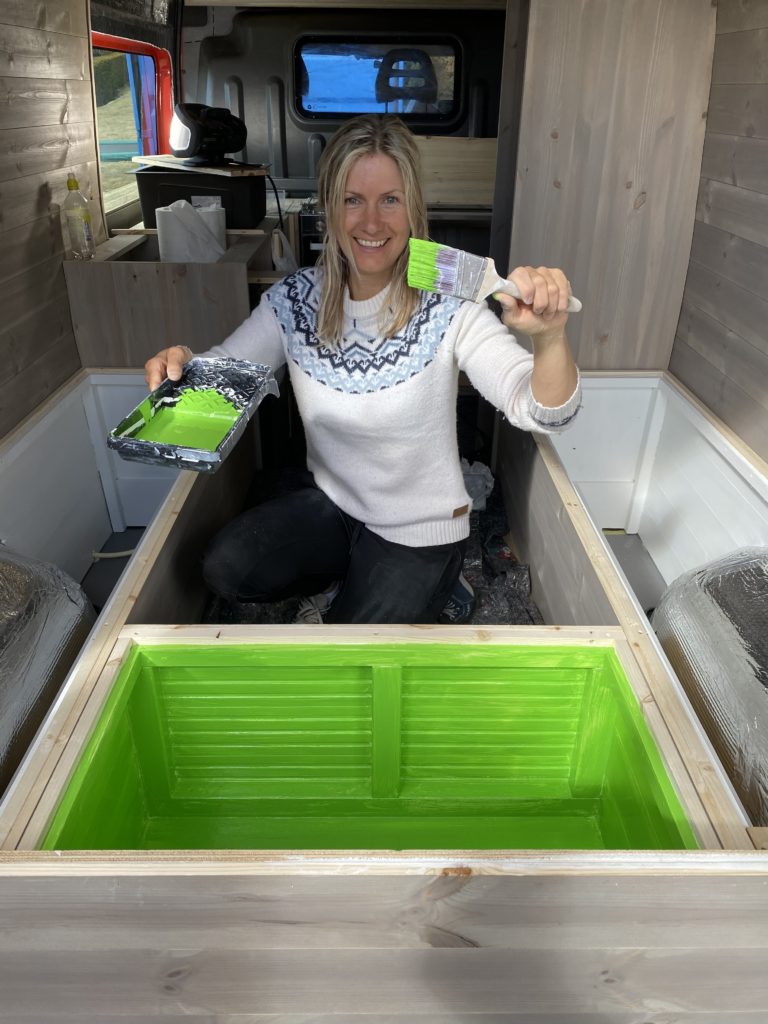
First, the boxes were primed, then I plastered over them so that there would be a smooth surface.
Then it was just a matter of painting the road in these colours:
Green – S 0580-G30Y
Orange – S 1080-Y60R
Blue – Dolphin

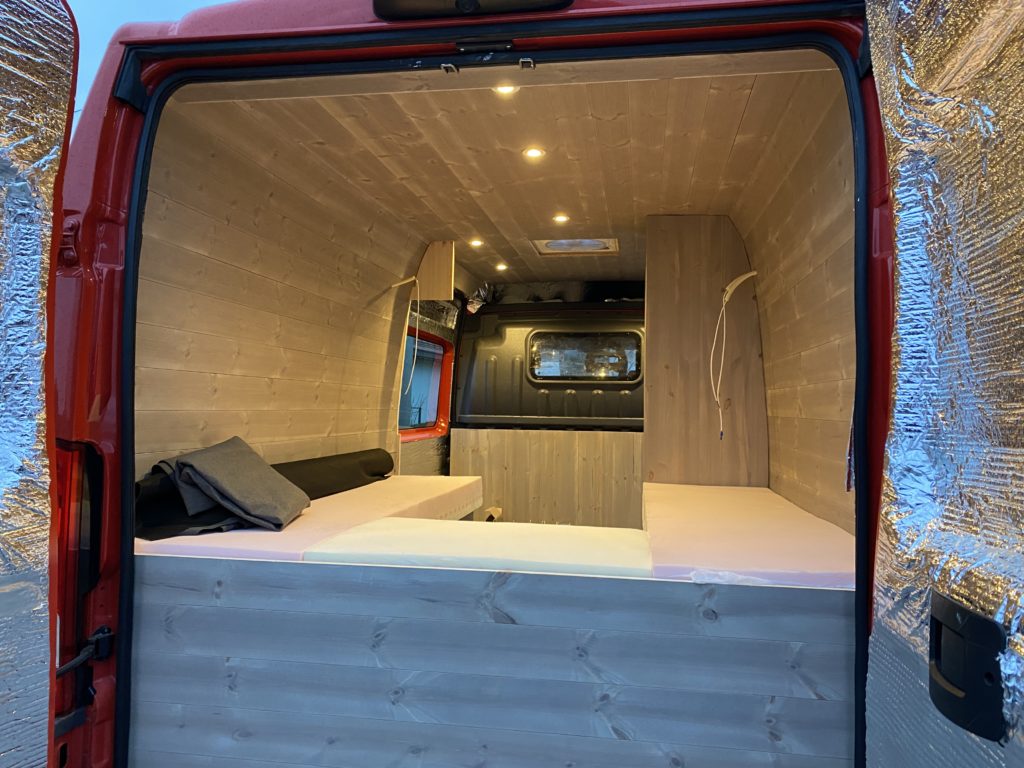
Every single thing that gets done in the car now looks so good, and now it was the mocks' turn. Oh, how I was looking forward to light in the car, not just a work lamp. Light does so much!
The electrician put in ceiling spots for installation, from Hyttetorget.no.
They have a low power consumption (3.3w). The spots are dimmable and the bulbs have approx. 50,000 hours of use.
Jeg ble superfornøyd med de 😀
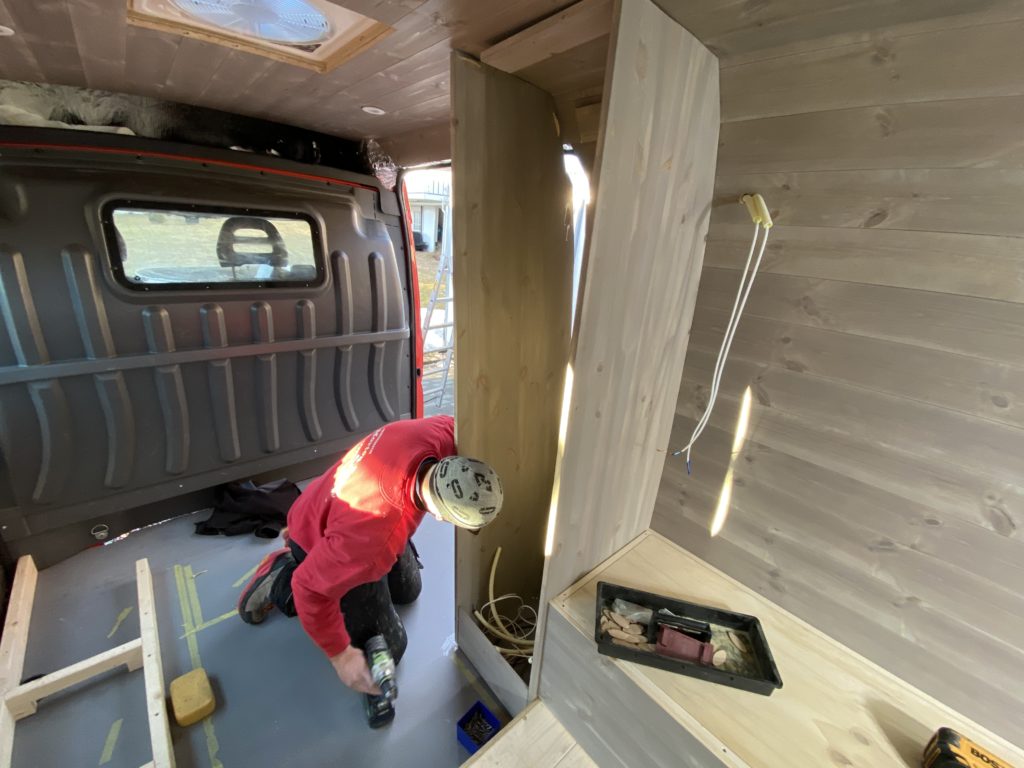
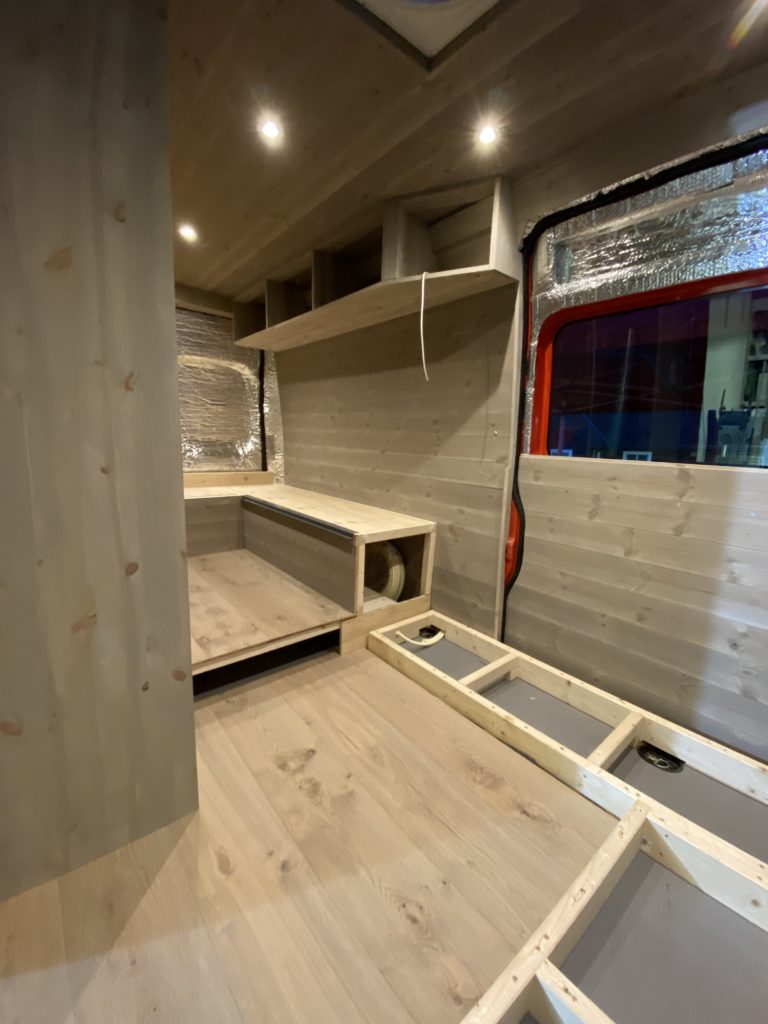
I wanted to have as much storage space as possible, and thought that a tall cupboard would be a good idea to hang jackets in. Then there would be nice space for a technical room at the bottom, and a small mirror and toiletries in the upper part.
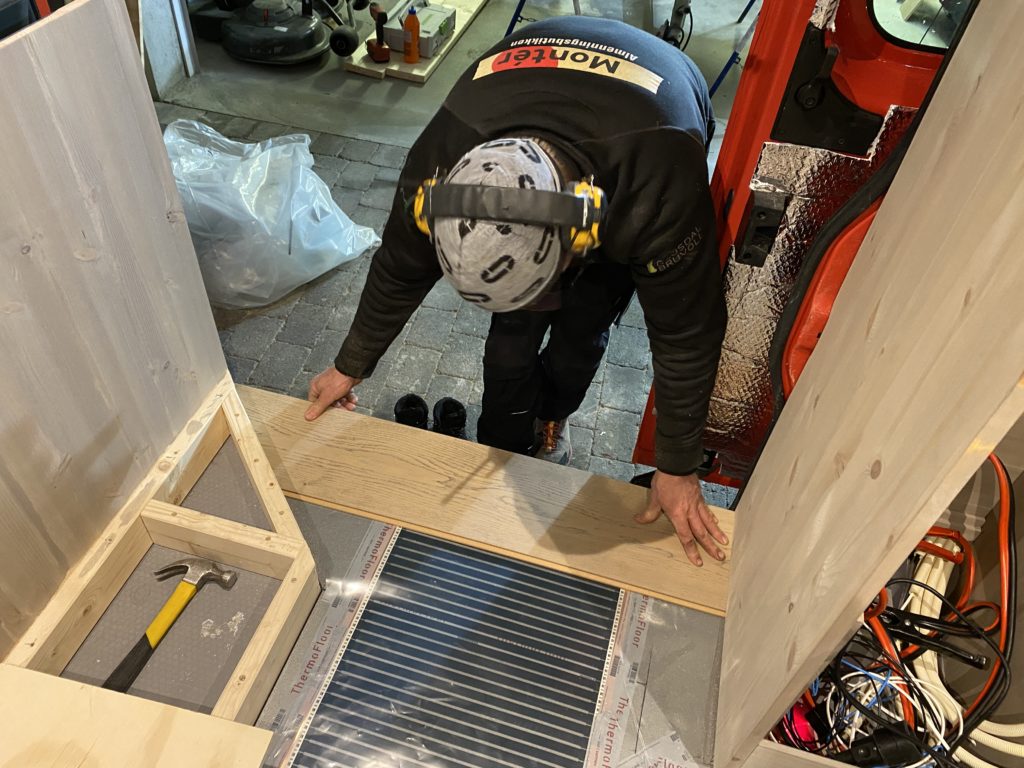
Then it was ready for the floor and heating foil.
The heating foil from Thermofloor is only active when the car is connected to 220v. But it's incredibly delicious and provides a nice warm warmth in the floor, so it's absolutely worth adding this.
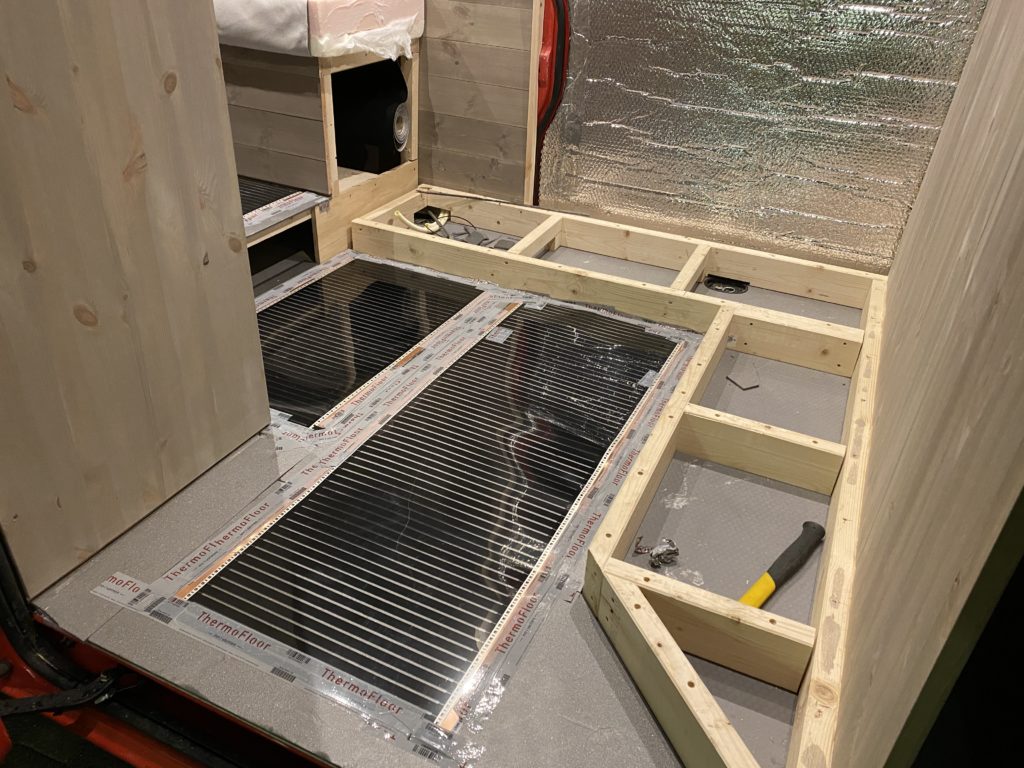
The floor is parquet in hardened oak from Bjelin.
Color rust/grey oiled. A solid good floor, recommended by the carpenter.
Finally, we oiled the floor with Osmo hardwax oil (clear matt) for even better durability.
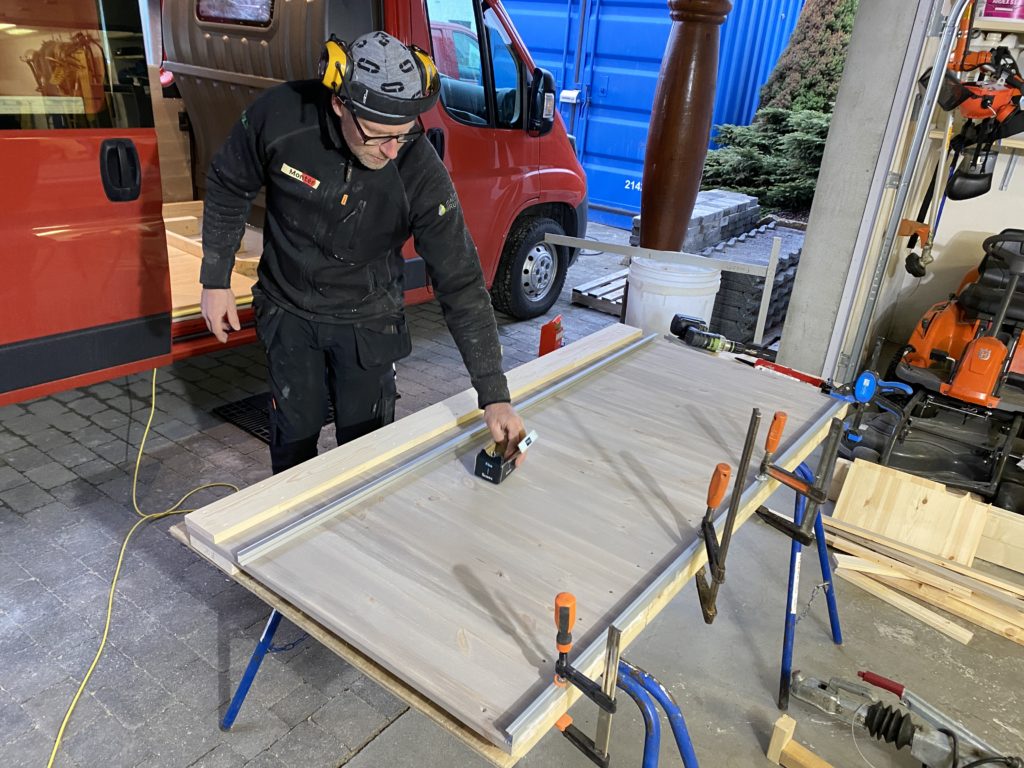
The doors on the side also became a small masterpiece, glued together and carefully cut to fit.

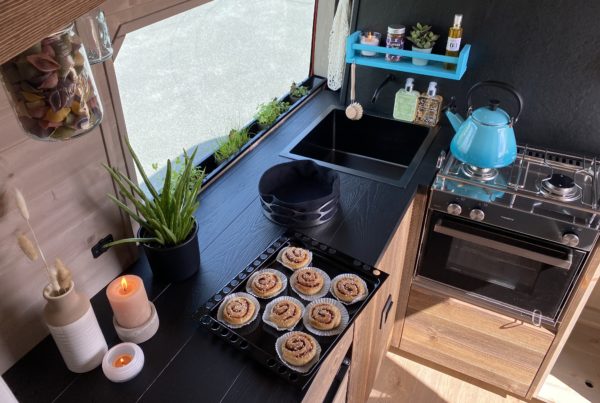
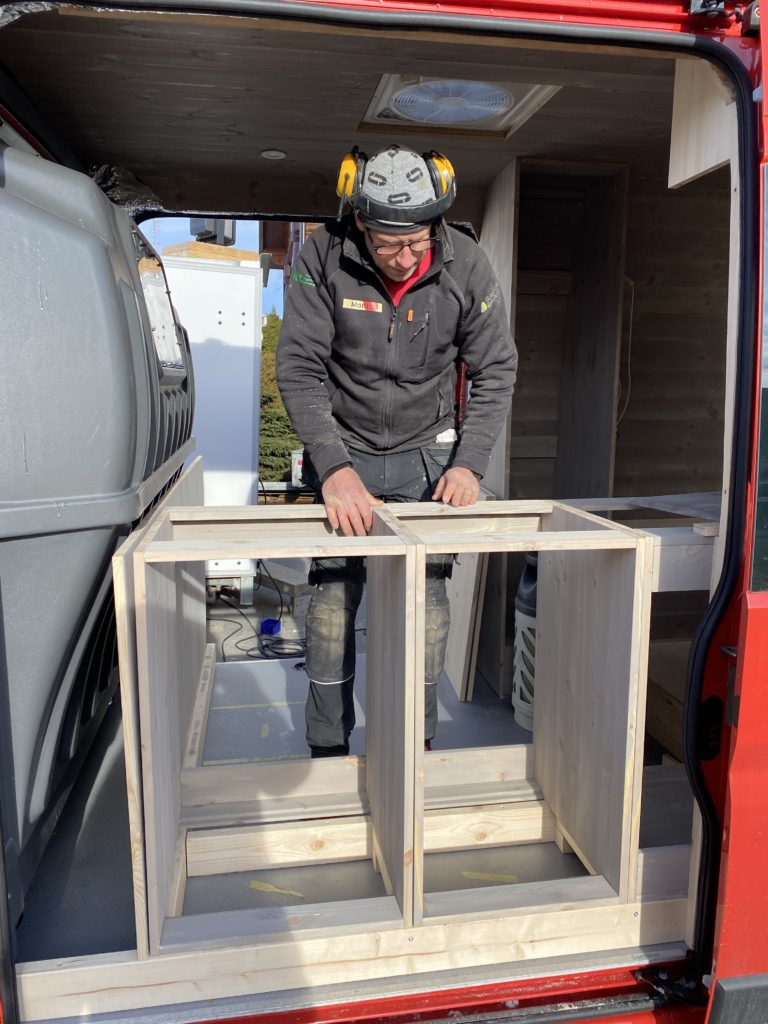
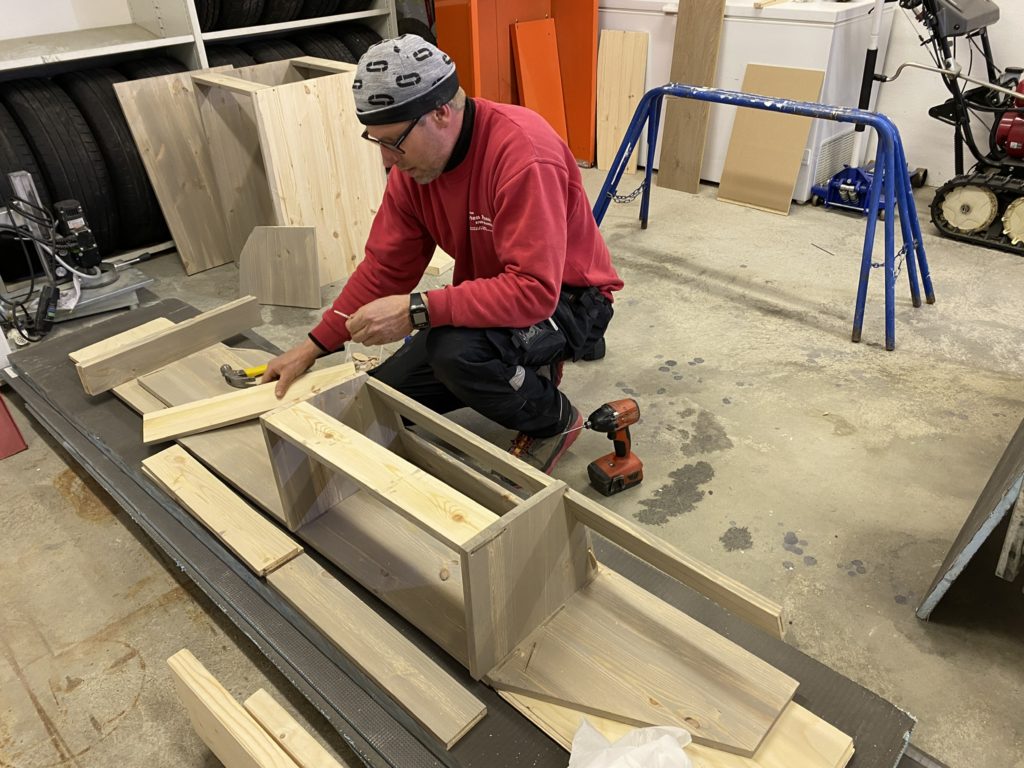
Kjøkkenskapene intet unntak. Skrogene blir laget med furu hobbyplater. Og jeg kan nesten ikke vente med å begynne på resten av kjøkkenet, det blir såååå utrolig fiiint 😀
Here, a corner kitchen is being created where the water tank will be left in the left cupboard so we can reach it from the outside. The gas should be in the right cupboard.
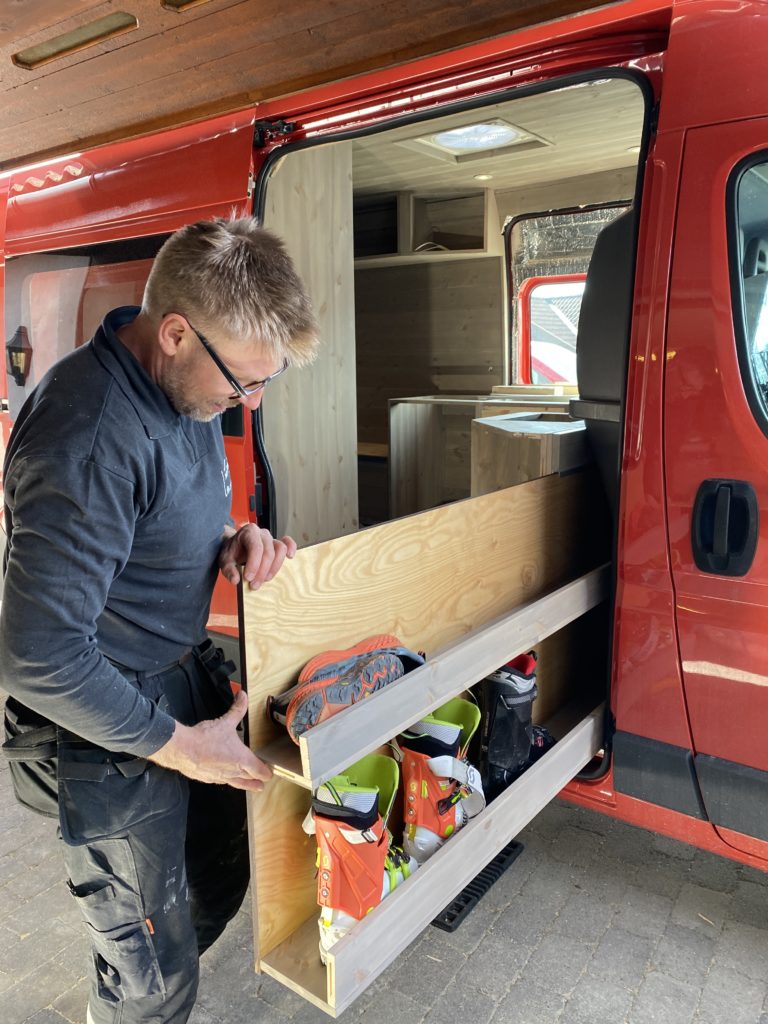
Before we continue in the kitchen, we are going to make an incredibly cool shoe cabinet, to make the most of the space.
Here, rails are used for LED lights to be able to push out the plate with the shoes in it.
Masse plass til sko, og det trengs til alt fra skisko til klatresko 😀
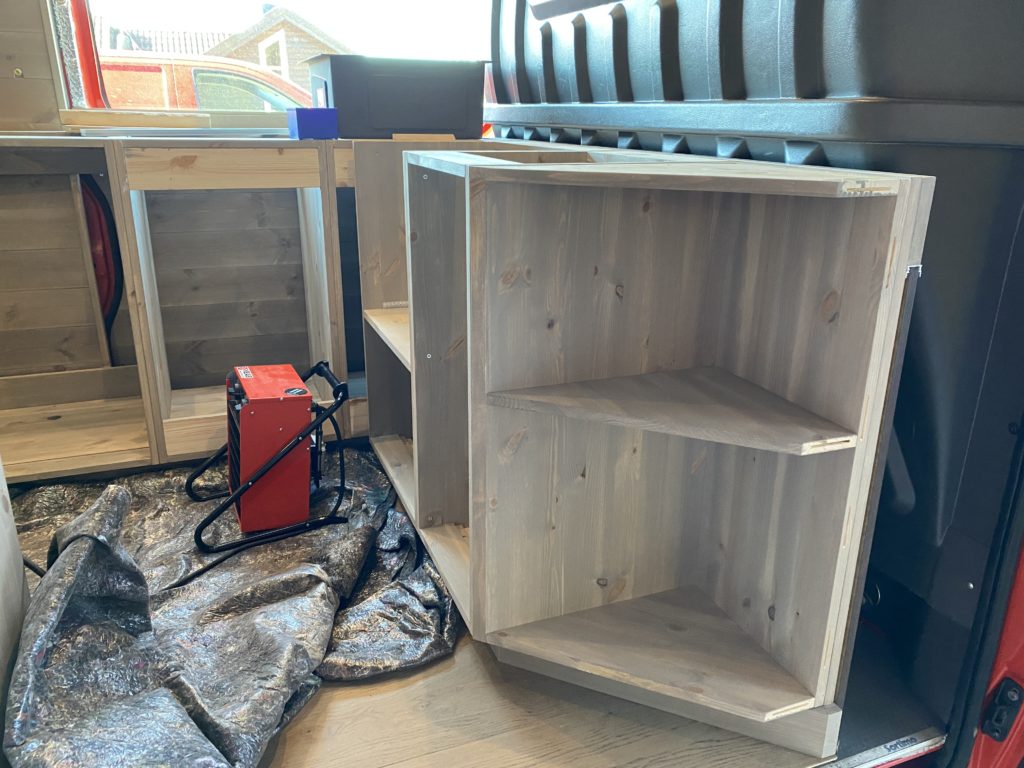
The upper cabinets are made from scratch. Nothing has to be bought ready-made, and everything is adjusted so that it fits in perfectly.
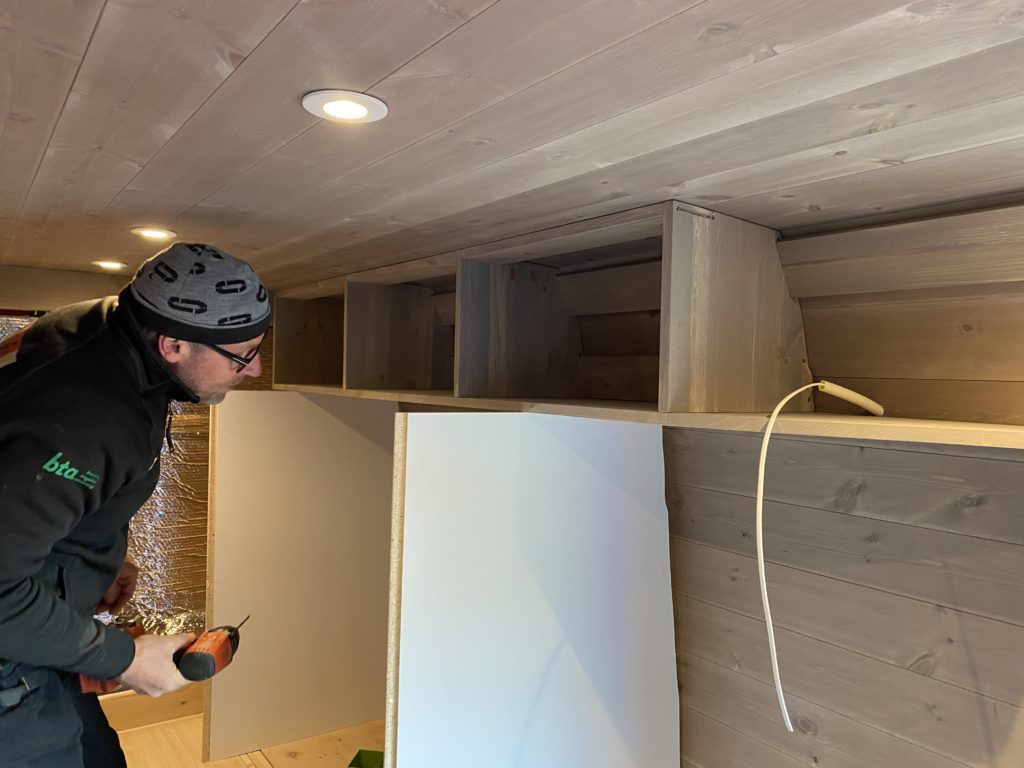
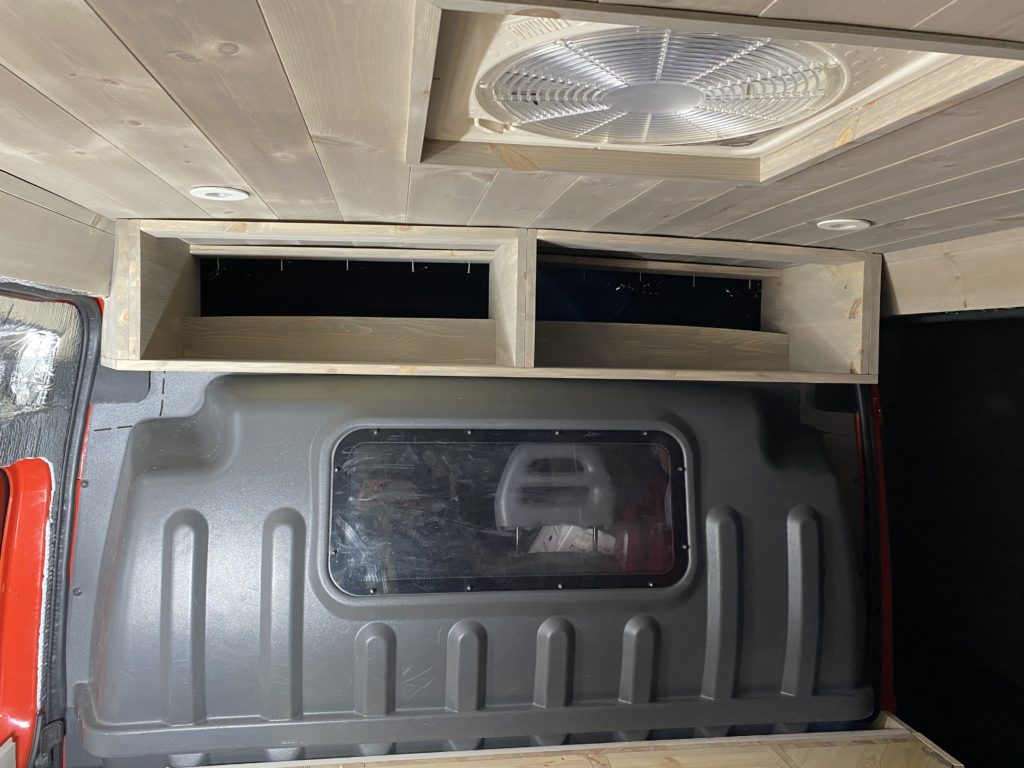
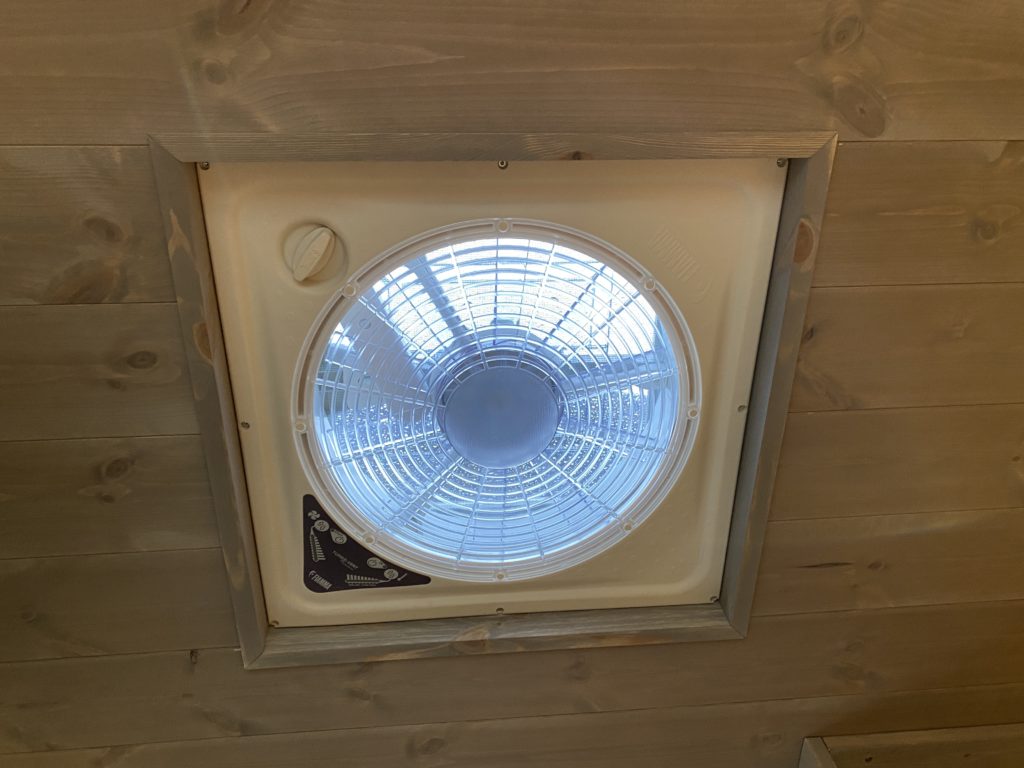
Also this little masterpiece of a frame around the fan which was incredibly nicely executed. Here there is a sunken ceiling due to insulation, laths and panels.
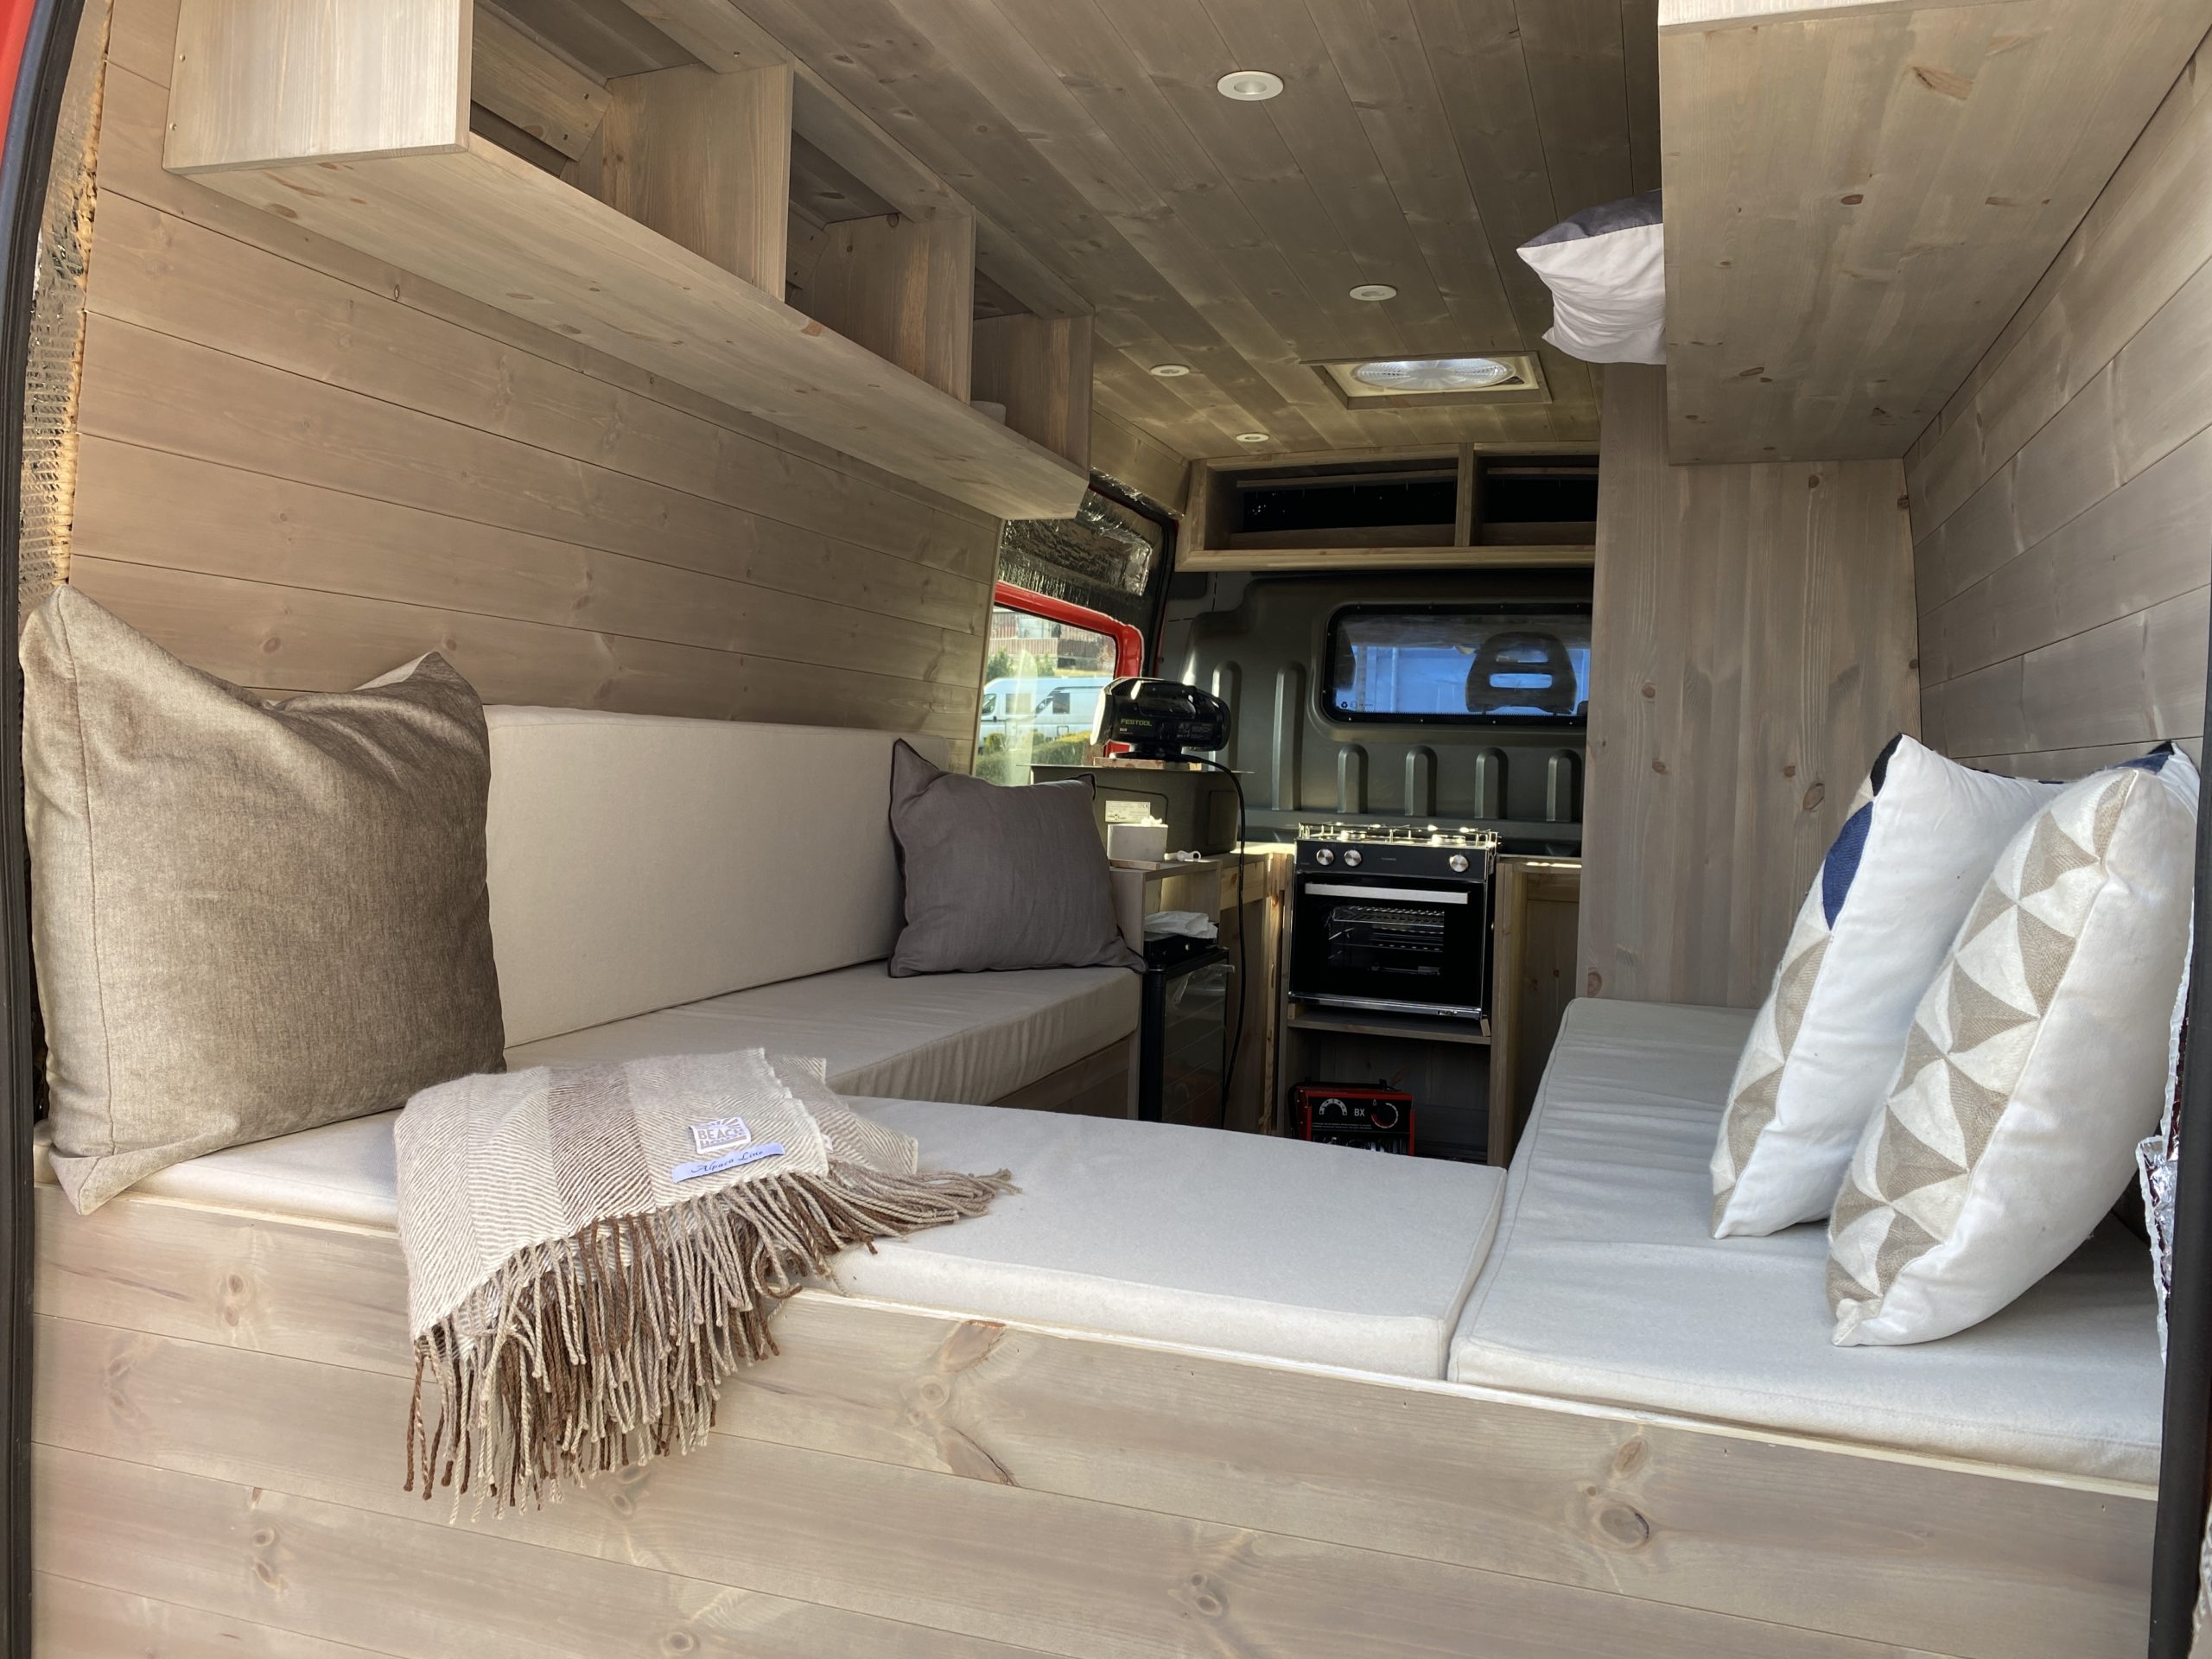
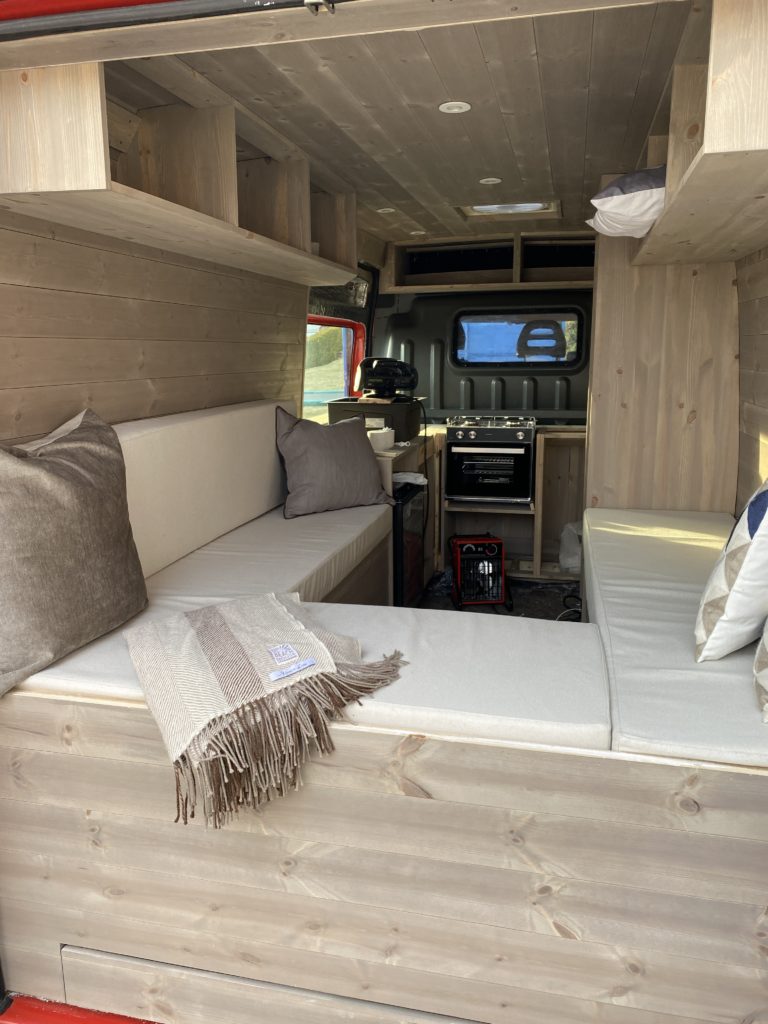
After waiting anxiously for the sofa cover order, I was super pleased after the first delivery.
I bought everything from the Foam Plastic Center in Oslo. Incredibly good service and short delivery time.
I wanted the mattress to be a bit thick, so I chose a 13 cm foam rubber mattress with a hard side and a slightly softer one (Duo 13 cm).
The fabric is a wool-like fabric that is incredibly soft and comfortable.
Kanskje ikke det lureste å velge en så lys farge, men måtte bare for den var så fin 😉
I had the help of an incredibly talented local lady to sew this.
The color of the mattress is: Slottsfjord 26 Ivory.
For additional cushions that will come, I chose a mixture of Ivory and Slate 20.
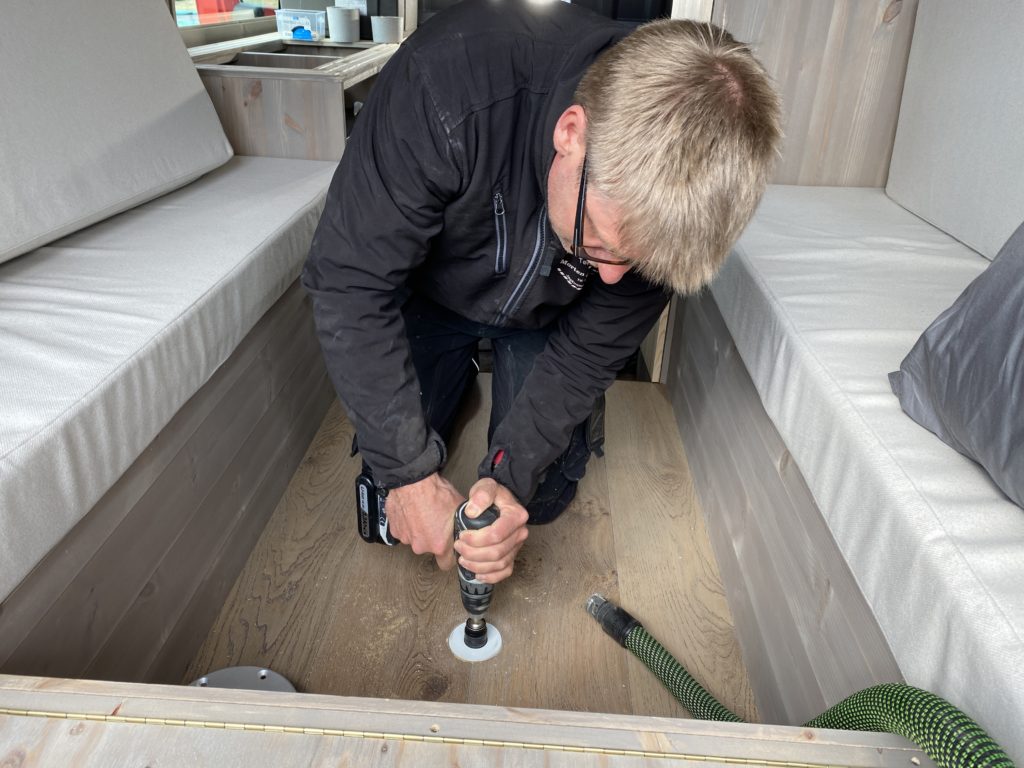
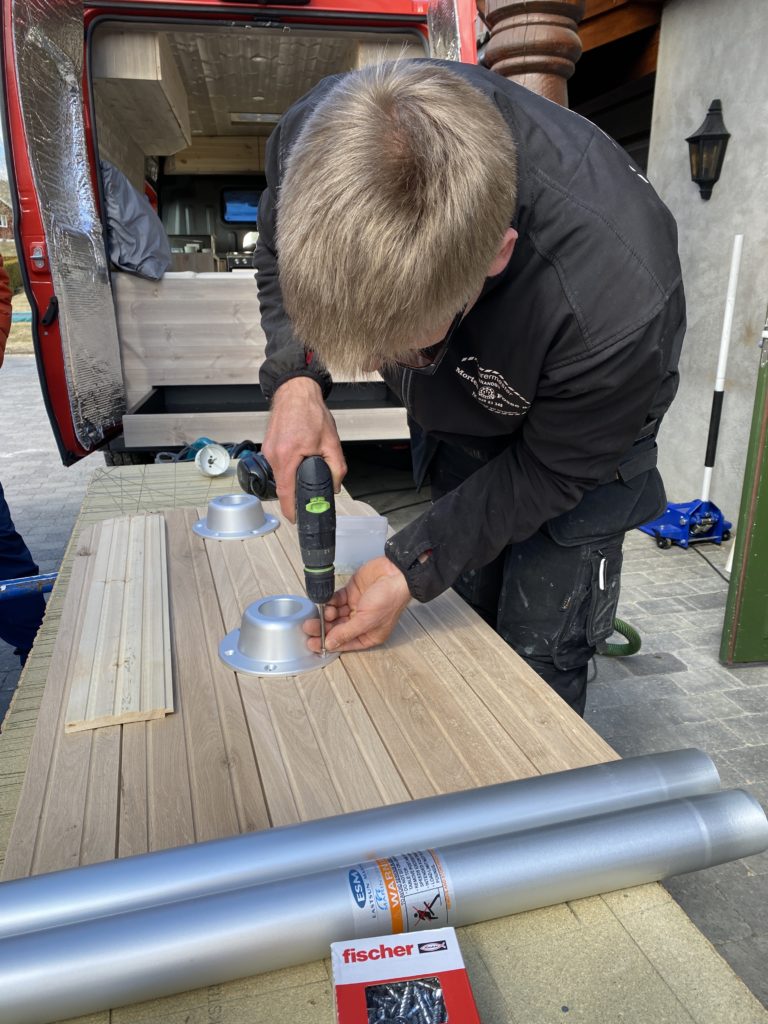
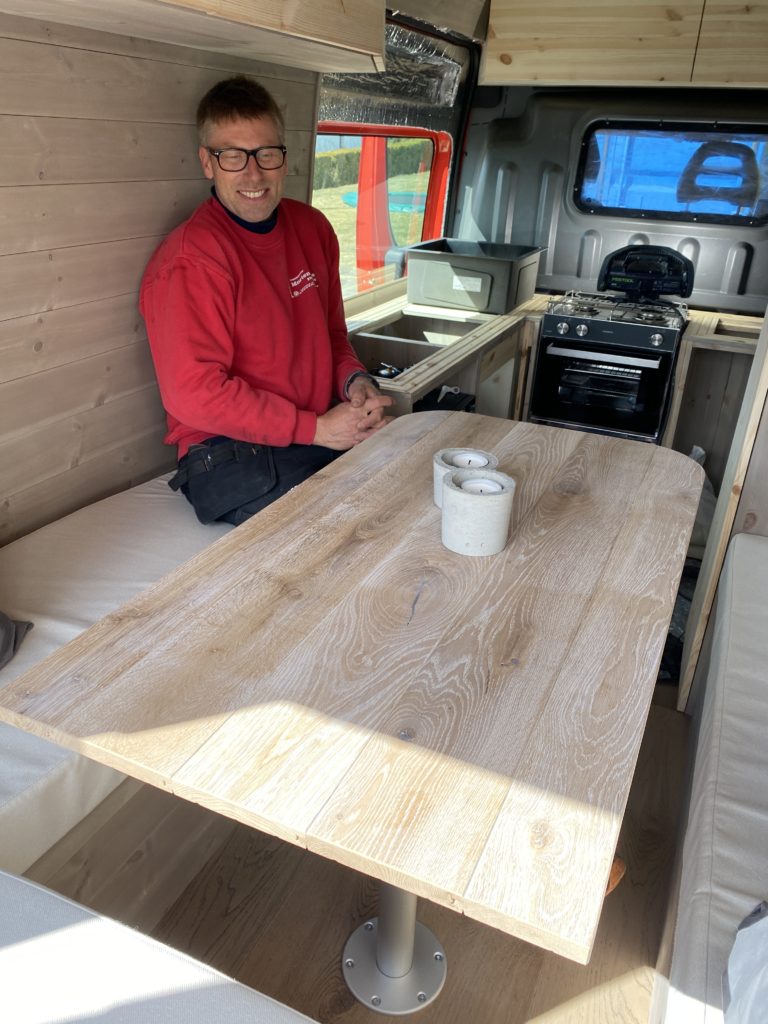
Etter dette begynte vi med bordet. Vi brukte gjenbruksmaterialer for å lage bordet. Jeg liker å kunne lage noe fint ut av noe som egentlig bare skal kastes 🙂
We used materials from a brushed oak cob that was white oiled. We glued this together, sawed it to the right dimensions and brushed it with a wire brush to get as much of the white off as possible. Then we oiled it with Osmo hardwax oil (same as on the floor).
Then it was just a matter of having holes made in the floor to attach the table legs to and having the table legs sit on. I bought these at Marineshop.no.

There is still some work left, and now the cabinet fronts must be made.
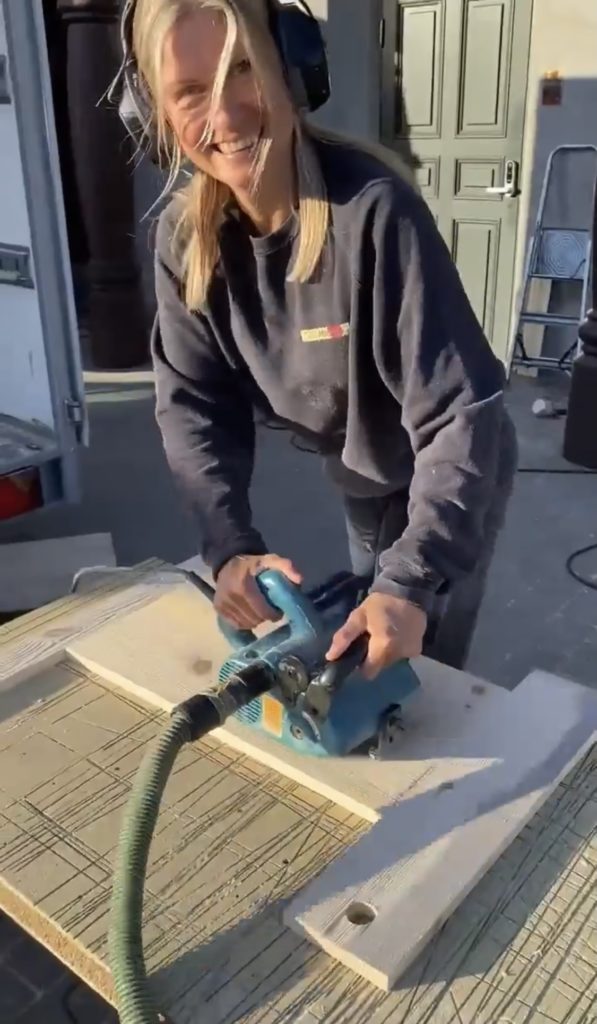
Morten has an incredibly stylish wire brush machine that we really wanted to try on the fronts.
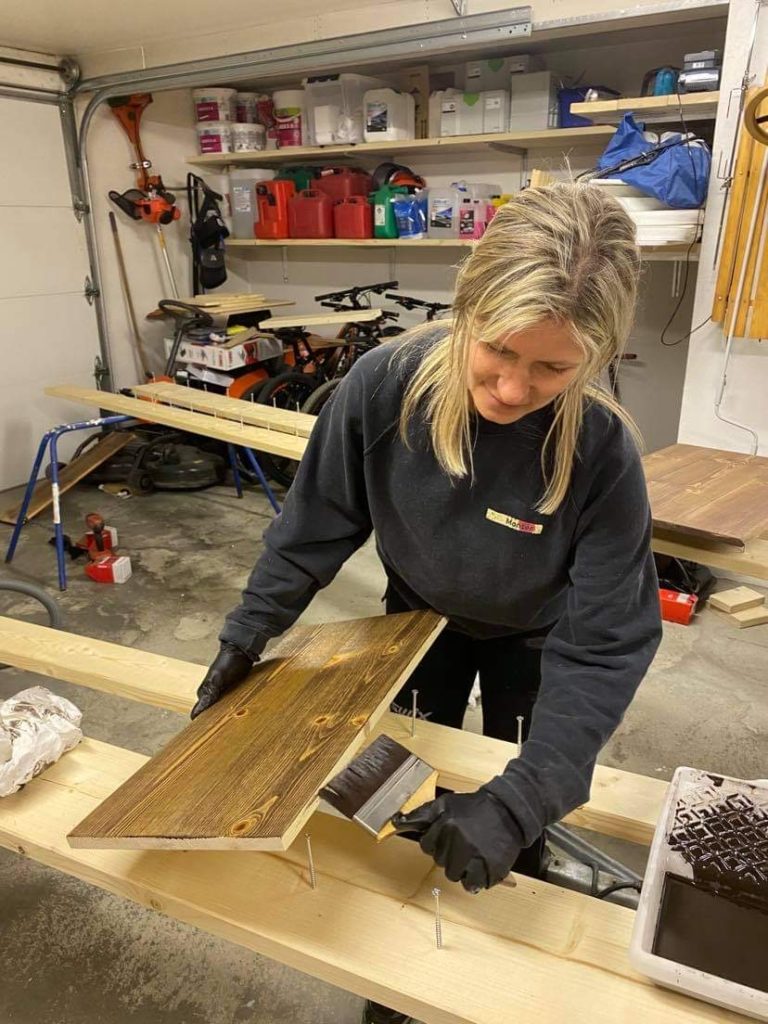
The fronts are also recycled materials from pine floorboards.
These were planed down to 19 mm thickness, glued together, sawn to exact dimensions and then wire brushed to bring out the wood structure as best as possible.
Then we oiled it with Osmo in the color terra.
![]()
I feel that I almost have to pinch my arm to realize that this is real. I could not have dreamed that the car I bought half a year ago would be anywhere near this. And thanks to the incredibly skilled Amund, the electrician's work is also done in a safe way.
Nå er det bare to uker igjen til bilen skal være ferdig, og jeg gleder meg som en unge til den store dagen hvor jeg for første gang kjører ut porten på tur 😀
But…. Before that, there will be more work to finish the last thing in the kitchen, the back doors, the side doors and some other small things.