
This is my biggest project at the moment, and it's so much FUN!!!
I had a motorhome a few years ago, and I have missed it many times.
But it's a bit expensive, so then I got the idea that yes, I'm going to build one myself. In addition, I could then make it exactly as I wanted 😀
This idea couldn't let go of me, so then it was just a matter of getting started and looking for a car 😉
And after some searching I ended up with a Peugeot Boxer.
PS. Take a look at the link below if you don't feel like reading everything in this post, there is a small film about what we have done so far 🚐😍
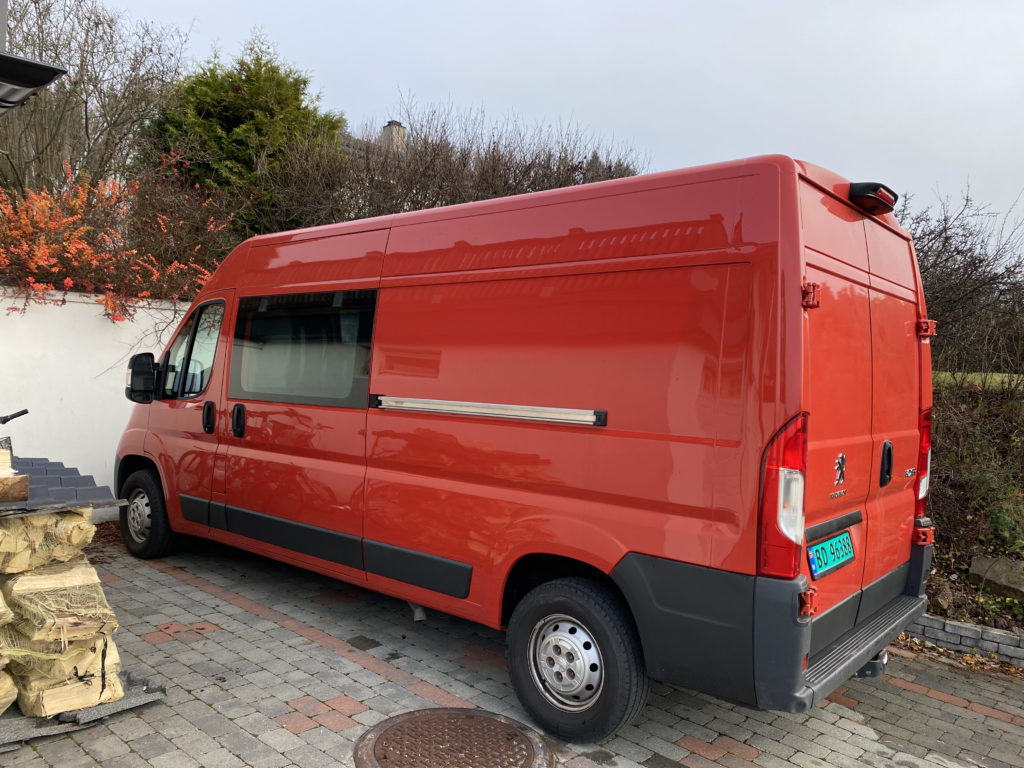
After my excessive impulsiveness at times, and really without having thought much about how I was going to manage this project alone, I had suddenly bought myself a car.
And with all my plans, I quickly realized that I needed help with this project!!
I got a tip about Amund, who is a super good electrician. I also had the help of a carpenter to build it.
Then it was just a matter of getting started with my coolest project ever 😀
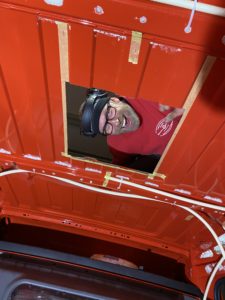
We were lucky enough to be able to borrow a space inside to set up the solar panel and roof hatch, as it had to be a little dry to get this right.
So one November evening we set to work.
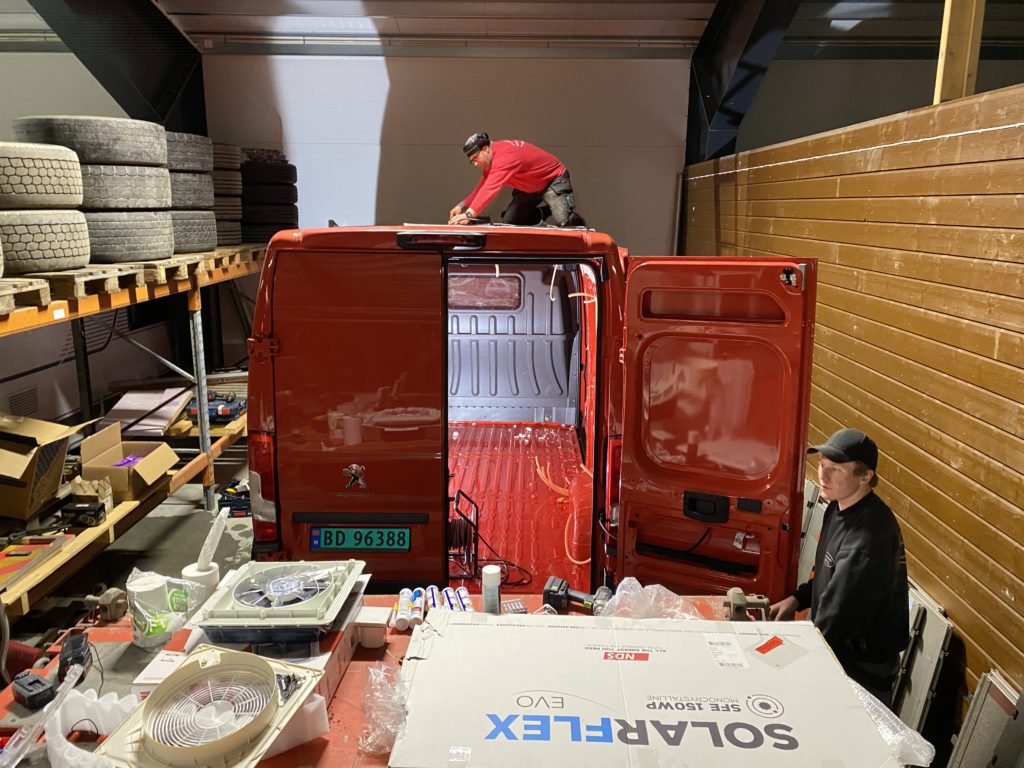
The first thing that needed to be done was to tape up and measure how it would turn out so we had a certain overview.
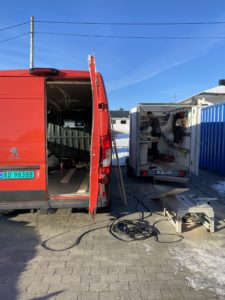
Next was to take out all the plates and high-pressure wash the inside of the car, then let it dry.
Everything from pipes to the electrical was laid up by an electrician.
In addition, arrangements were made for electricity into the car, which I think is nice in relation to the fact that it is then possible to connect to electricity when you are not freecamping.
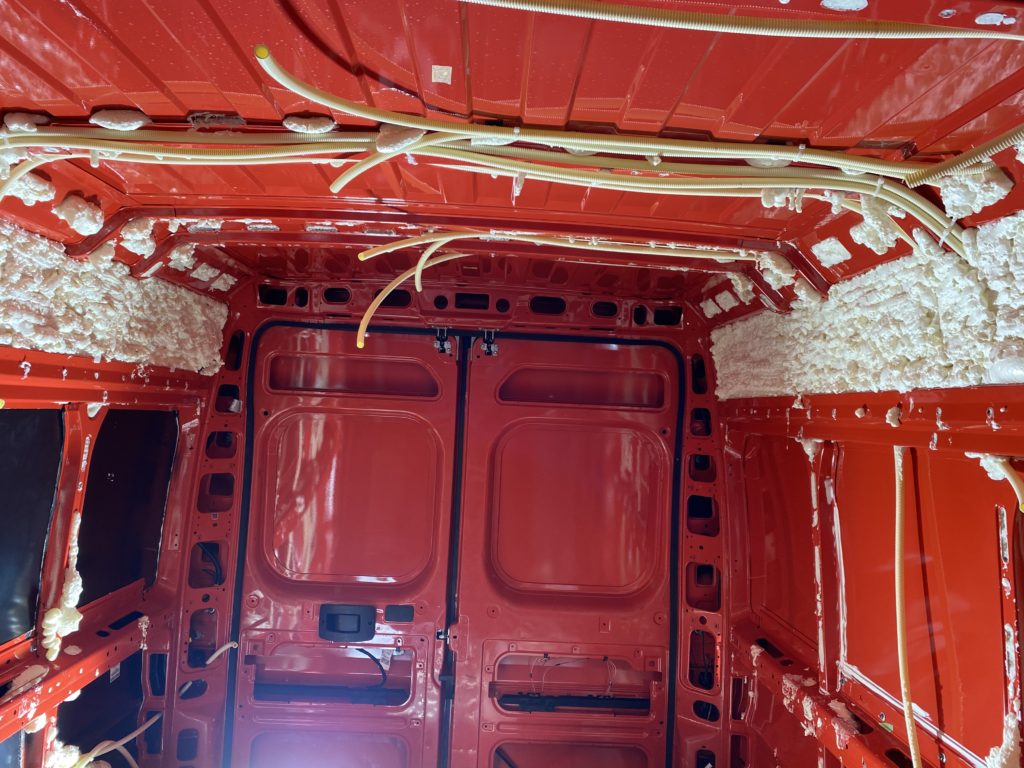
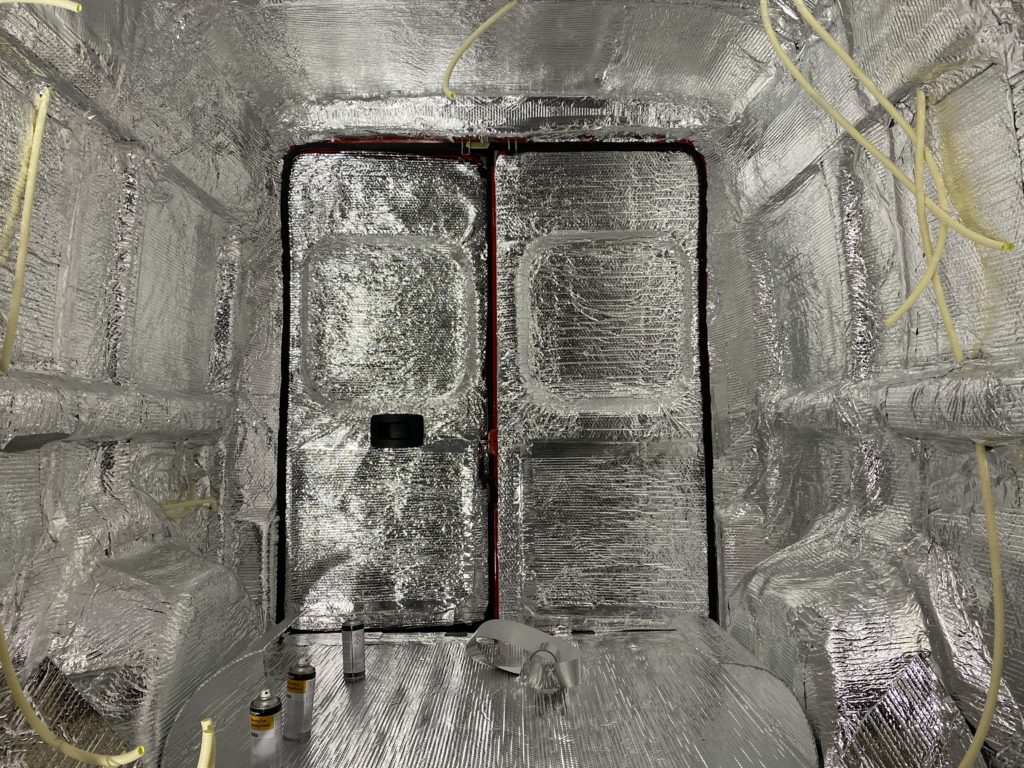
All holes were foamed with NoviPro flex foam before the silver foil insulation was glued on with spray adhesive. I have chosen to use Astro Shield insulation. I ordered this in rolls.
Two coats of this throughout the car should be sufficient, and in the end the car looked like it was well wrapped in silver foil.
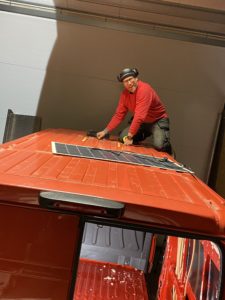
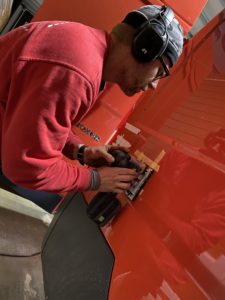
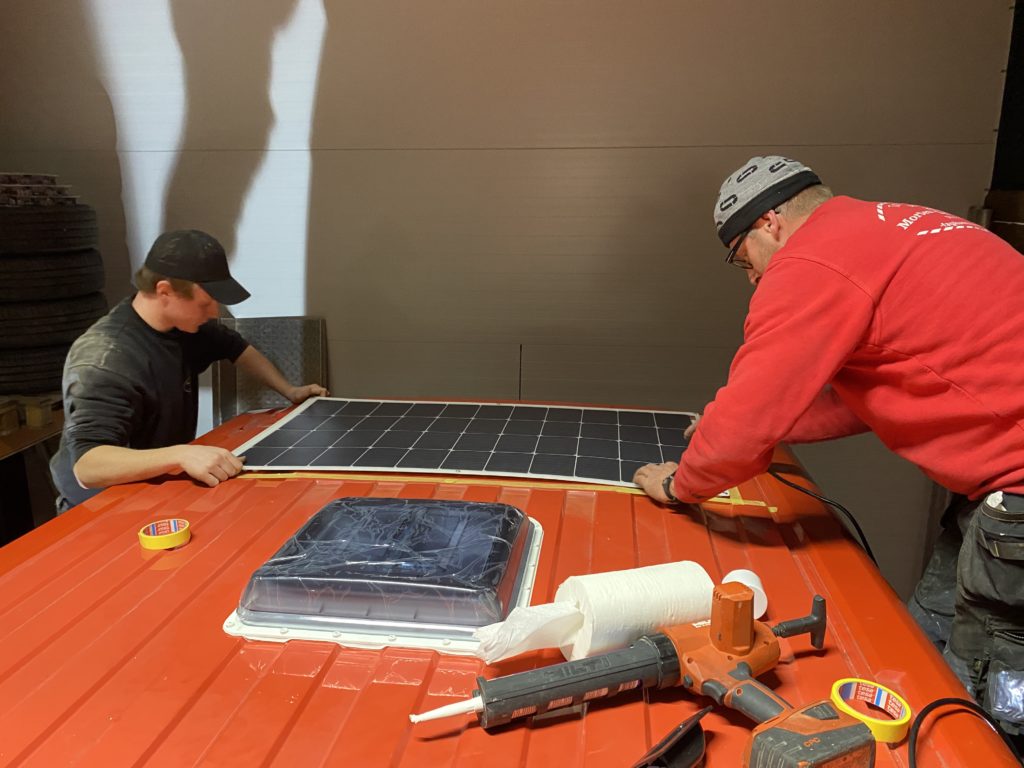
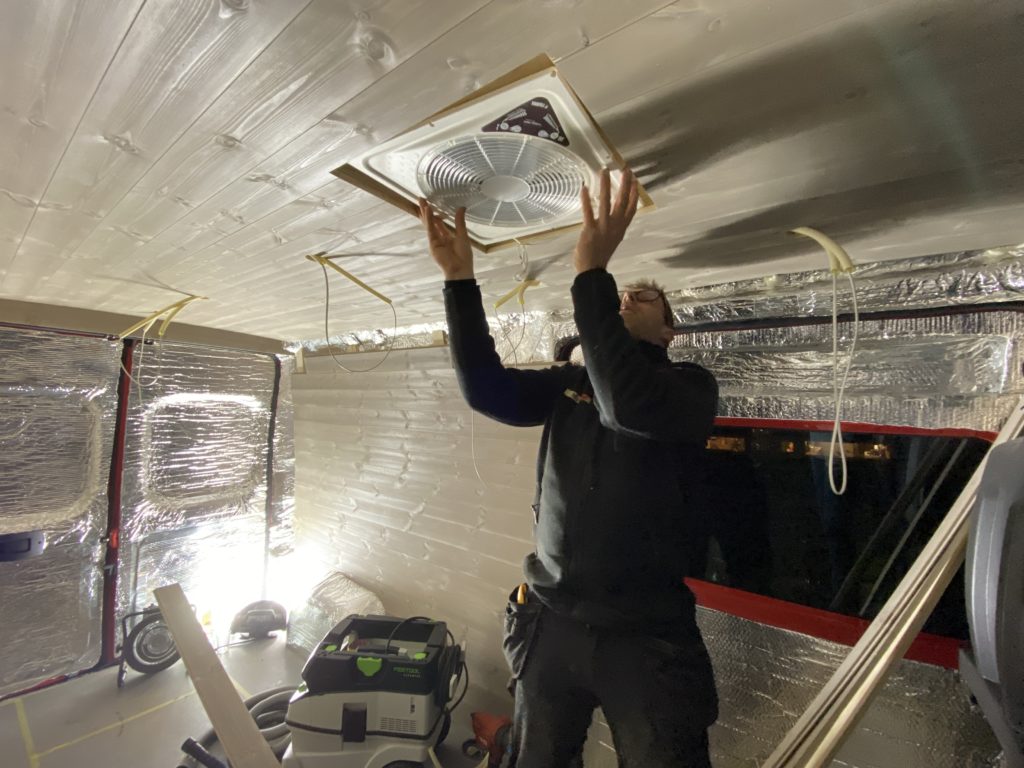
I bought the solar panel and sunroof from Mohagen Bil.
I chose the Fiamma Turbo Vent Premium roof hatch. This is a motorized version that provides good air circulation in the car.
I wanted to have a solar panel for freecamping and chose Solarflex. This is a flexible solar panel that is easier to place on the roof than a rigid one.
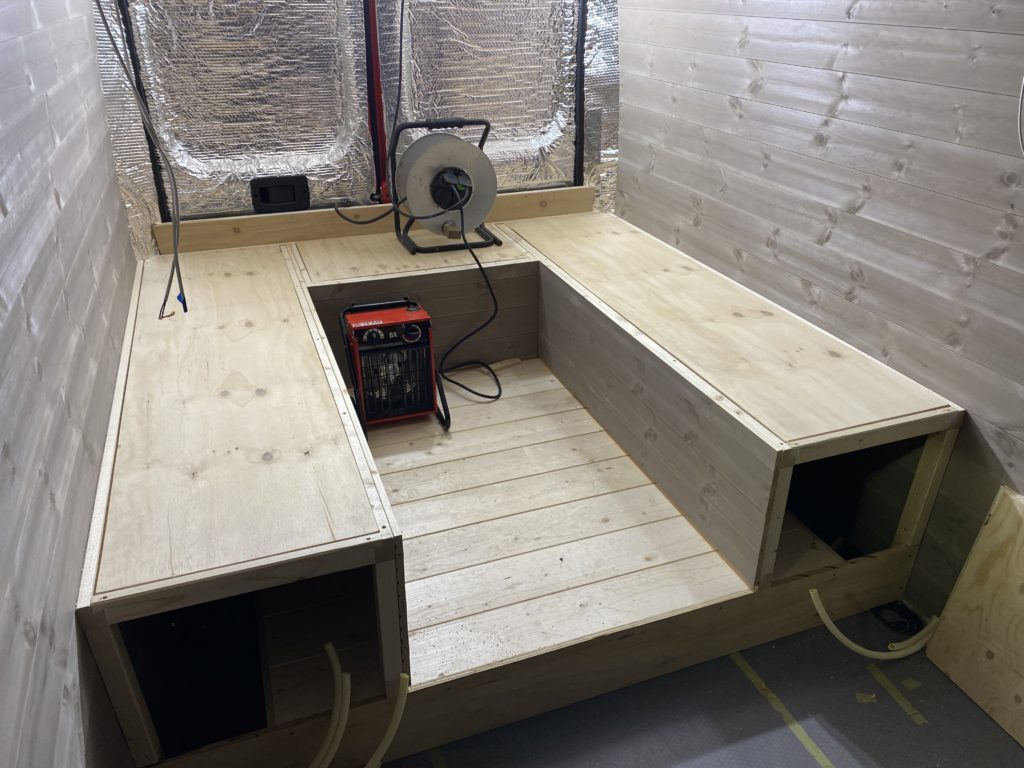
The joy did not diminish when we had finished the foundation work and were about to start laying panels.
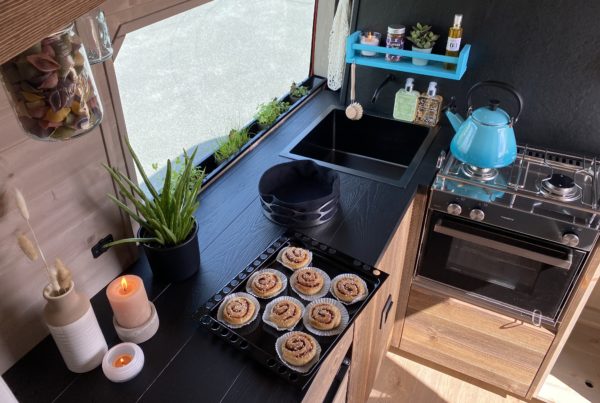
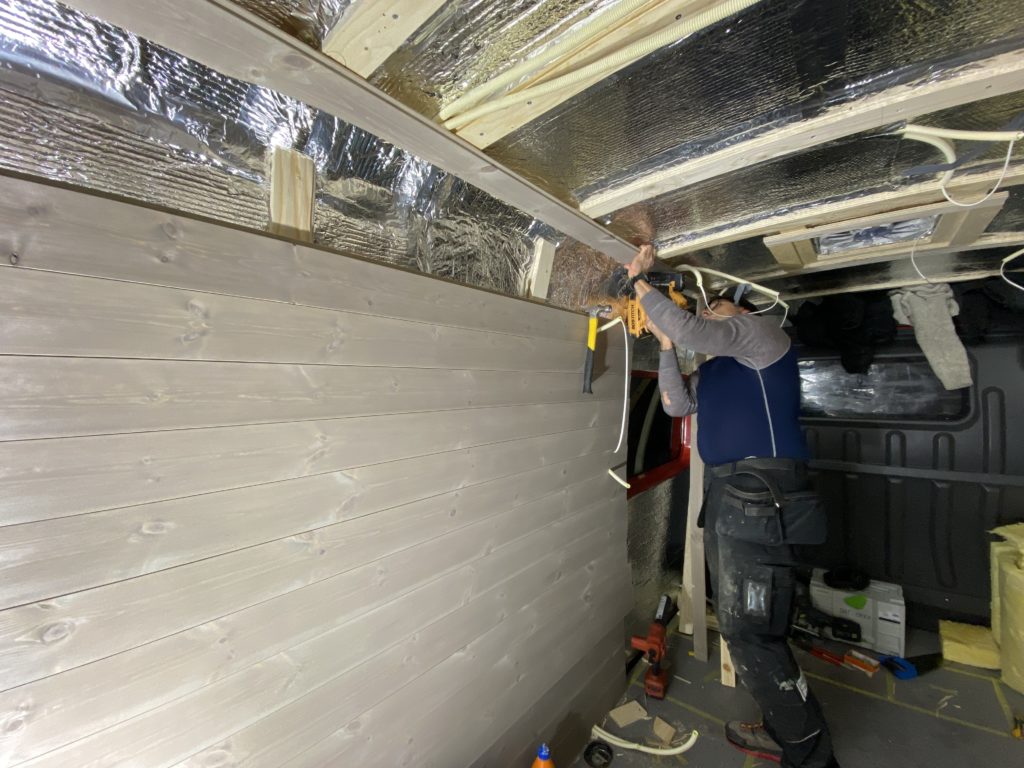
After much thought about colours, we chose flat panel pine from Bjertnæs saw in the color soft elegance. Super happy with that color.
The carpenter is incredibly careful and clever, so not a single nail should be visible here. It was first glued and then nailed afterwards.
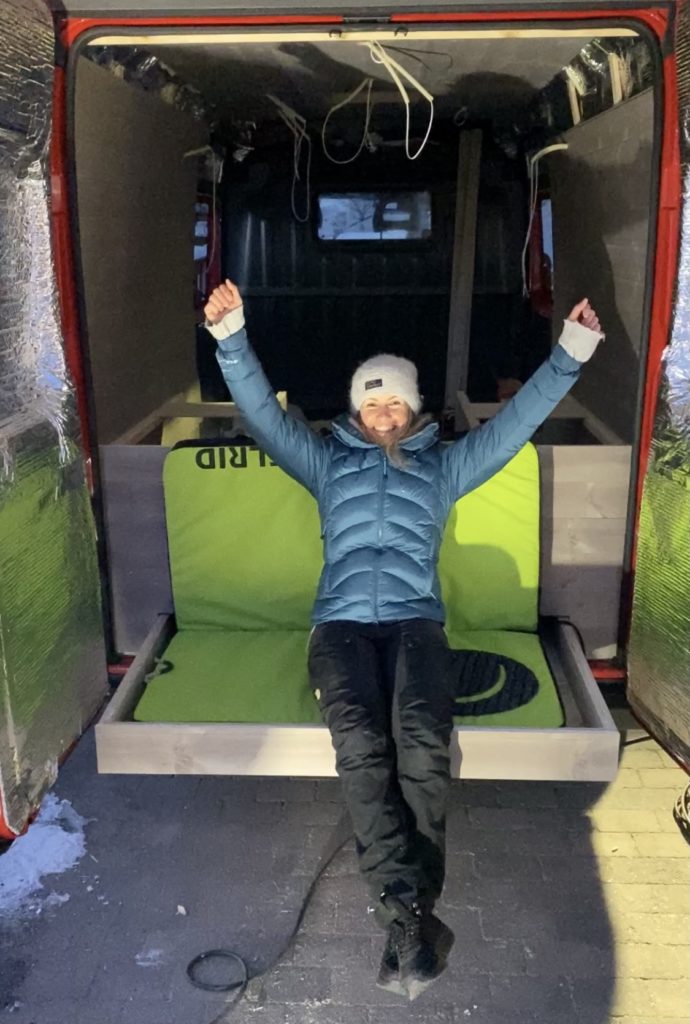
I realized that I really wanted a "sofa drawer" under the seat. This can be pulled out behind the car for a separate small sofa corner. Here, a crashpad (for bouldering) is placed as a mattress, so you also have storage for this.
And suddenly it would have become a drawer. See the film below.
And with all my weird ideas, it is not difficult for the carpenter to come up with all sorts of inventions. He certainly has a whole bunch of exciting ideas himself.
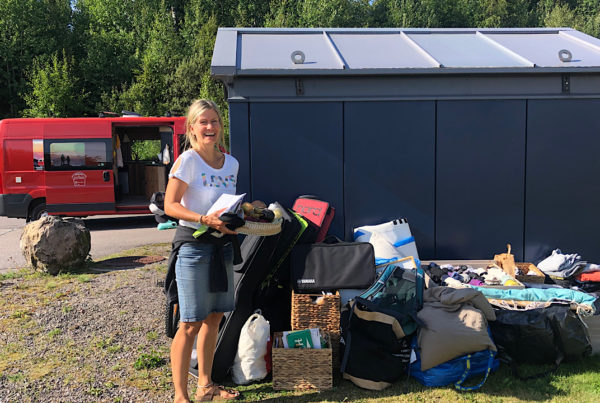
Then it was the sofa that had to go up. Lots of good storage space under the seats here, and of course everywhere to get the best possible use of the space.
Please take a look at the video below. There you can see step by step the first part of the motorhome project.
The next part is being worked on and the car will hopefully be finished during the spring 😀
It's very nice that you are following me on this project, I hope you would like to join in the future too 🙂