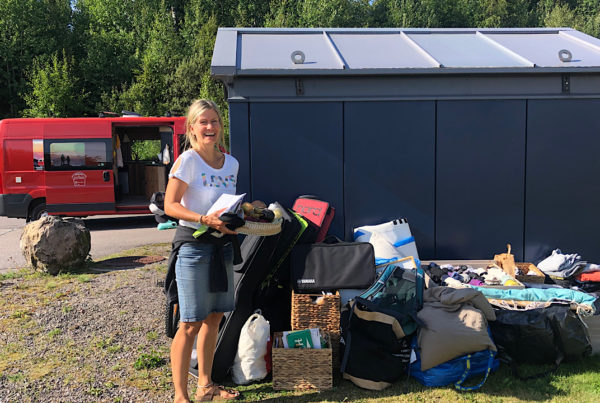

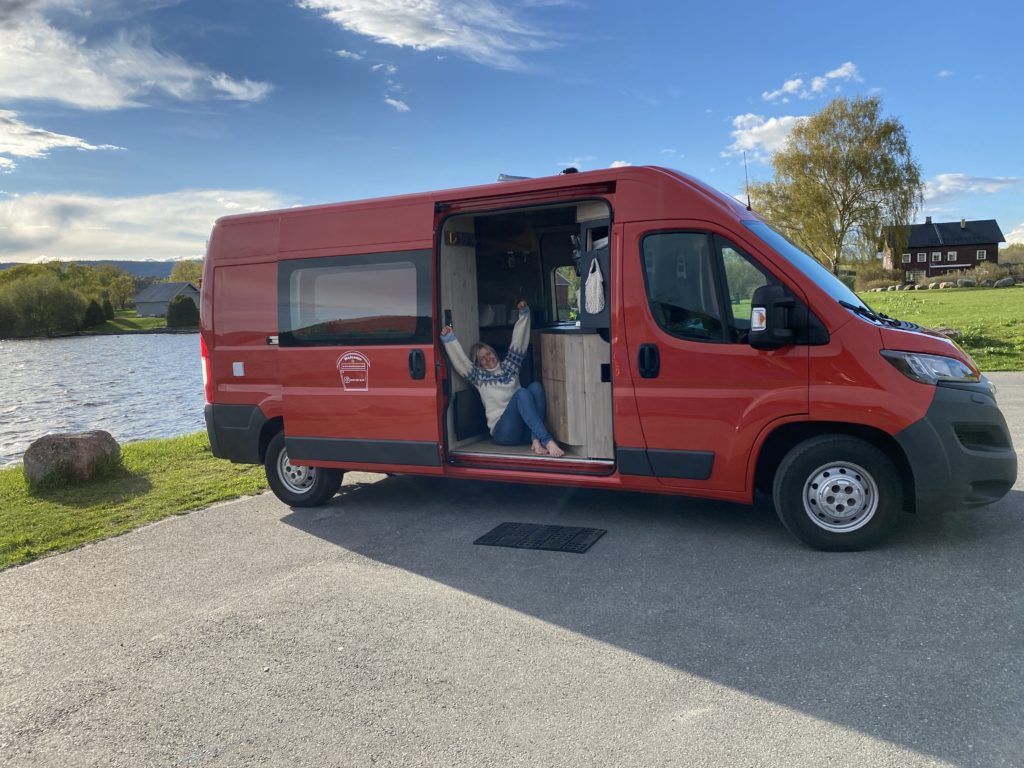
Yay, after more than 1/2 year of work, the car is finished.
This has been so incredibly fun and educational, and I never in my wildest imagination dreamed that the car would be so nice when I stood there with the key in my hand and didn't understand where to start once.
The last part of the job has been so much fun, when only one thing in the car is finished and I see the result after so many hours of work.
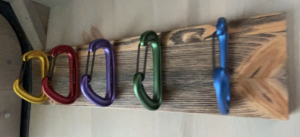
After the cabinets in part two were finished, we started making what would become a peg. Here we glued on carabiner hooks on a wooden board. And that was the result.
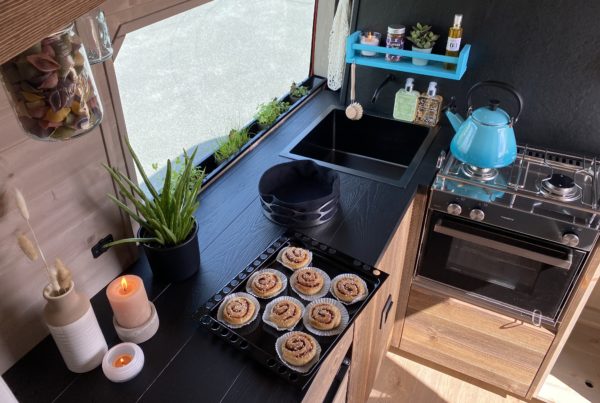
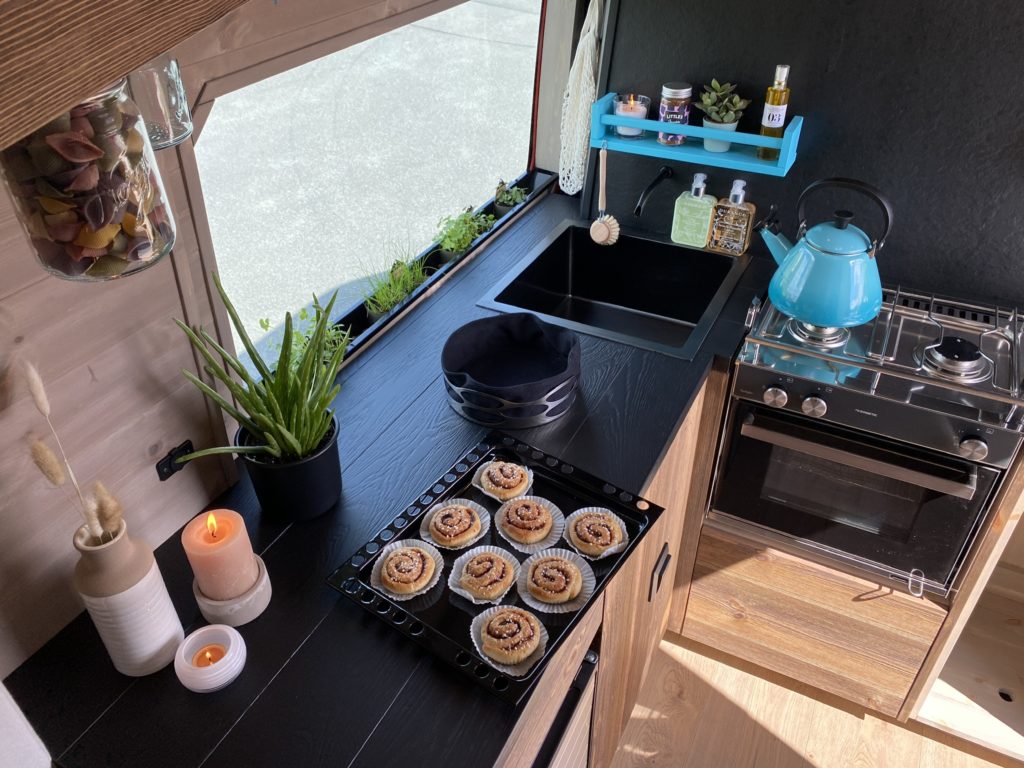
Then it was the worktop's turn. After a lot of really precise work to get it to fit (like everything else and of course) we were going to oil it black with Osmo oil. Then there were 2 coats of hardwax oil to get the most durable worktop possible.
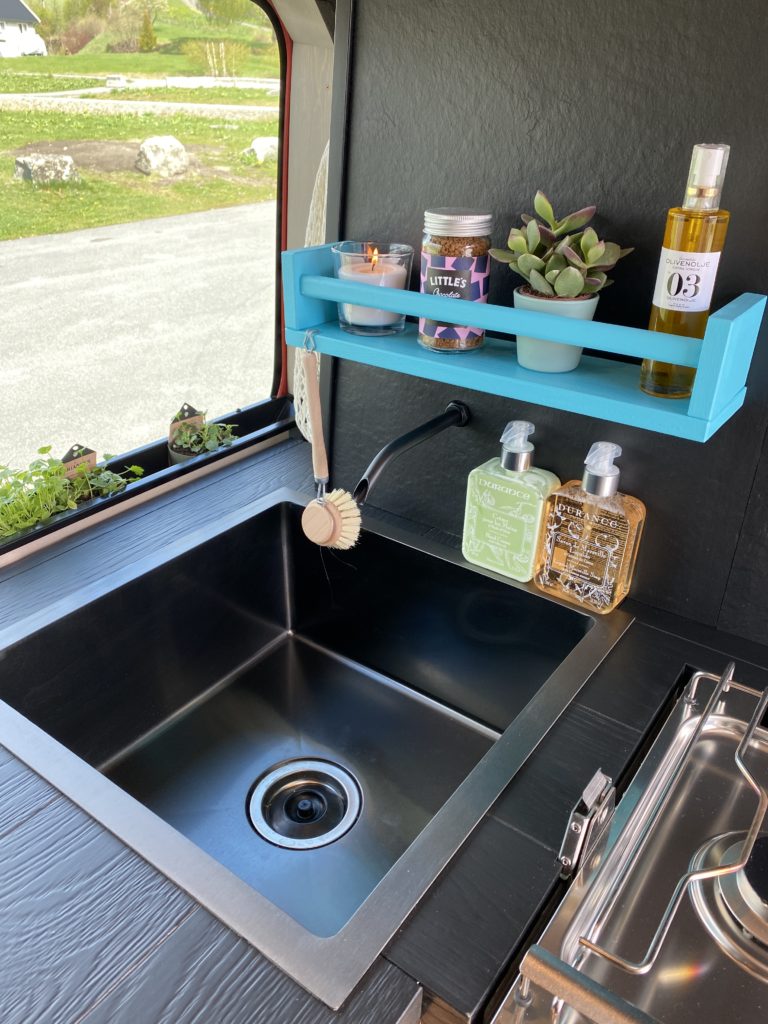
Above the sink, we made a plate that is partially lowered into the sink so that the sink would not be visible. This was made as a piece on the back so that every part should be useful.
The worktop is also made from recycled materials.
The kitchen tap was an incredibly practical and simple solution in terms of frost and mixer taps. Therefore, we only used a copper tube that was cleaned with rubbing alcohol before painting. The pipe was bent and shaped by skilled plumber Finn, so it would fit perfectly. It works incredibly well with a switch at knee height, so you just have to keep your knee close and both hands are free.
Then a solution was made behind the kitchen wall so as little as possible would be seen, and then with a pump down into a jug in the room under the sink. I have chosen to have a small jug so it is easy to take it with you and fill water in a stream or other. I will have several jugs in the car so it's just a matter of filling up.
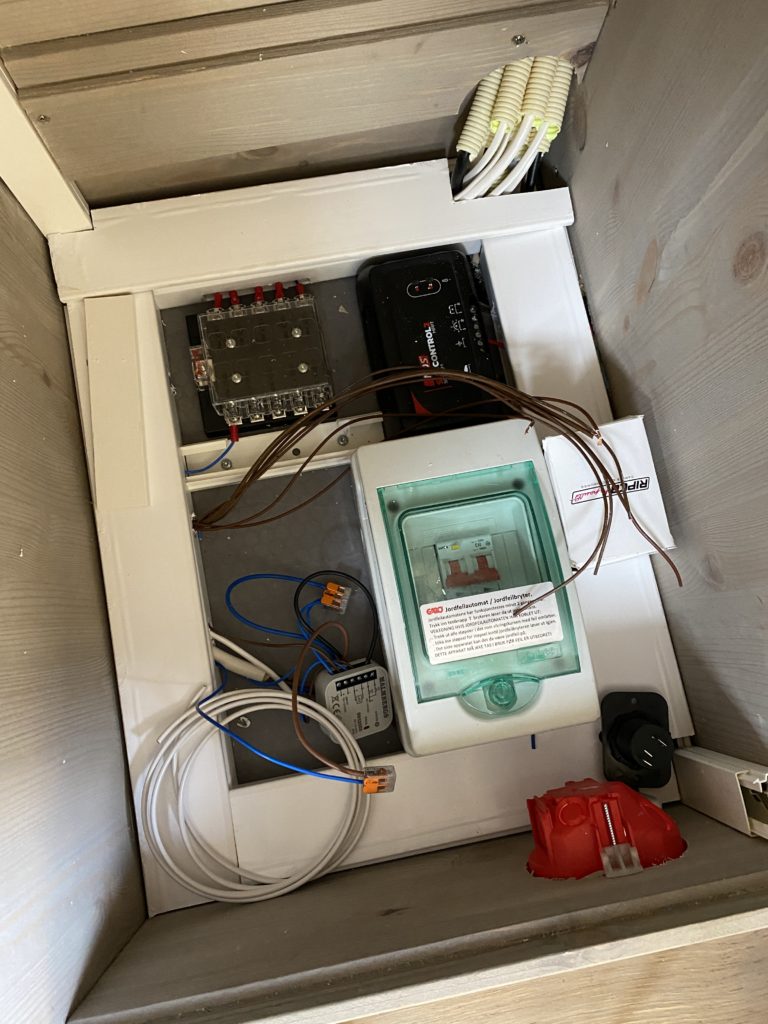
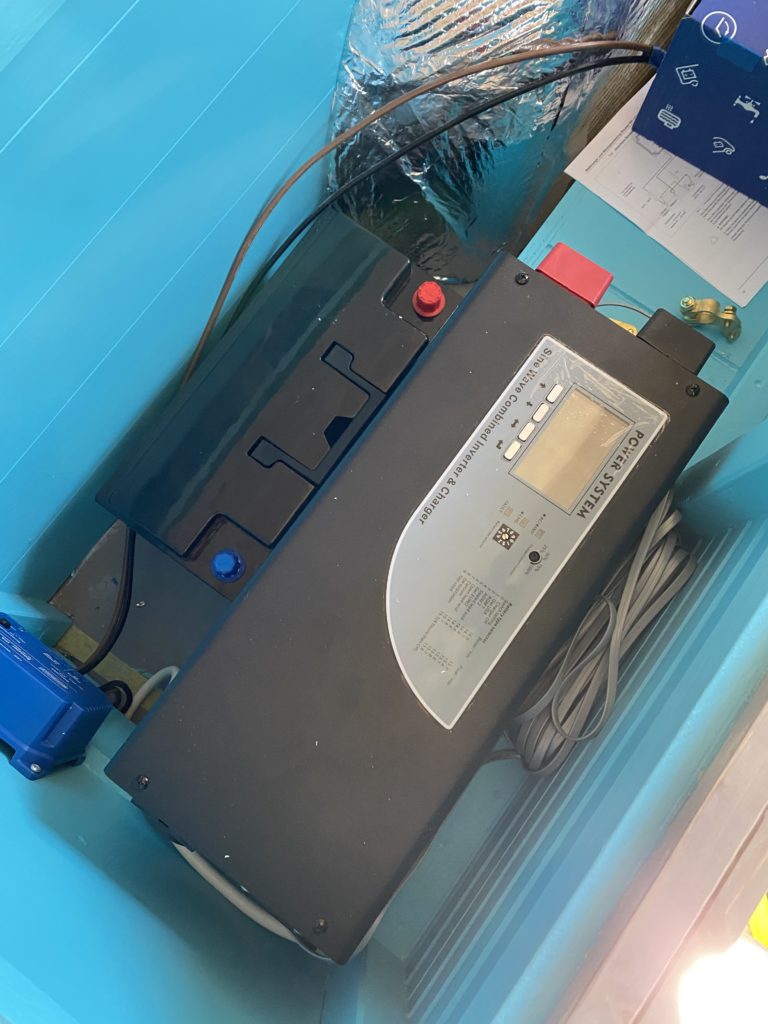
The electrical system no exception, for a job that was done here.
Many incredibly good ideas and important details.
There will be a separate post about what has been done in relation to the electrical.
Memban panels were used for the kitchen wall at the back and stone veneer at the front. We oiled this black before we used hardwax oil on it also for the best possible durability.
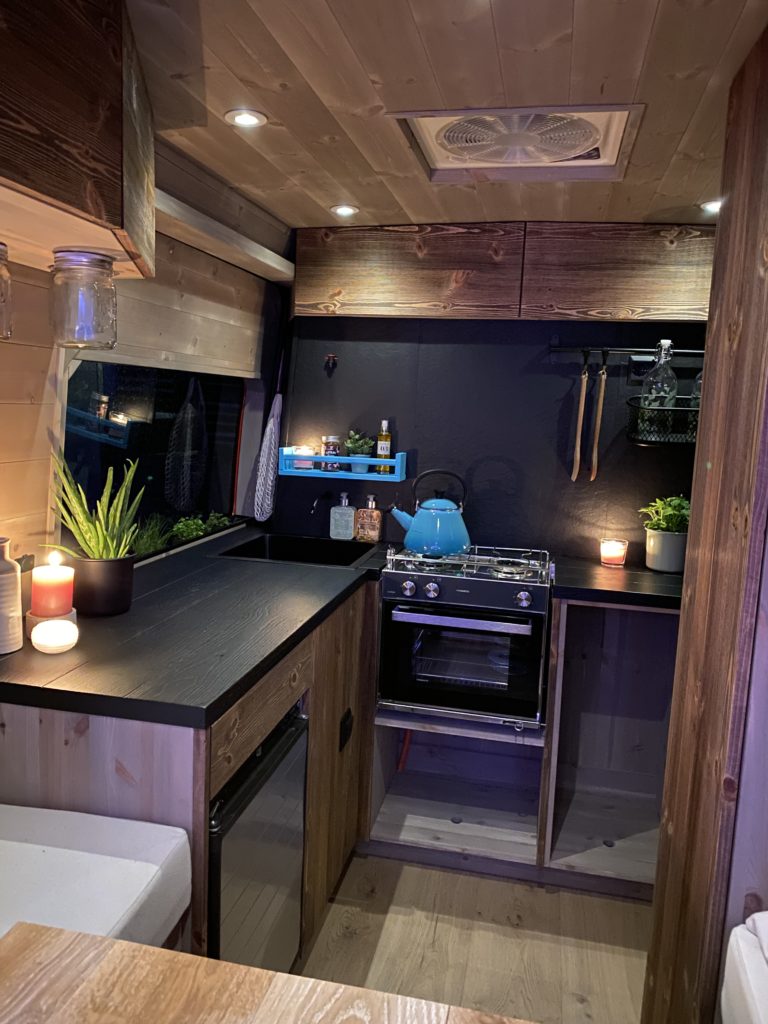
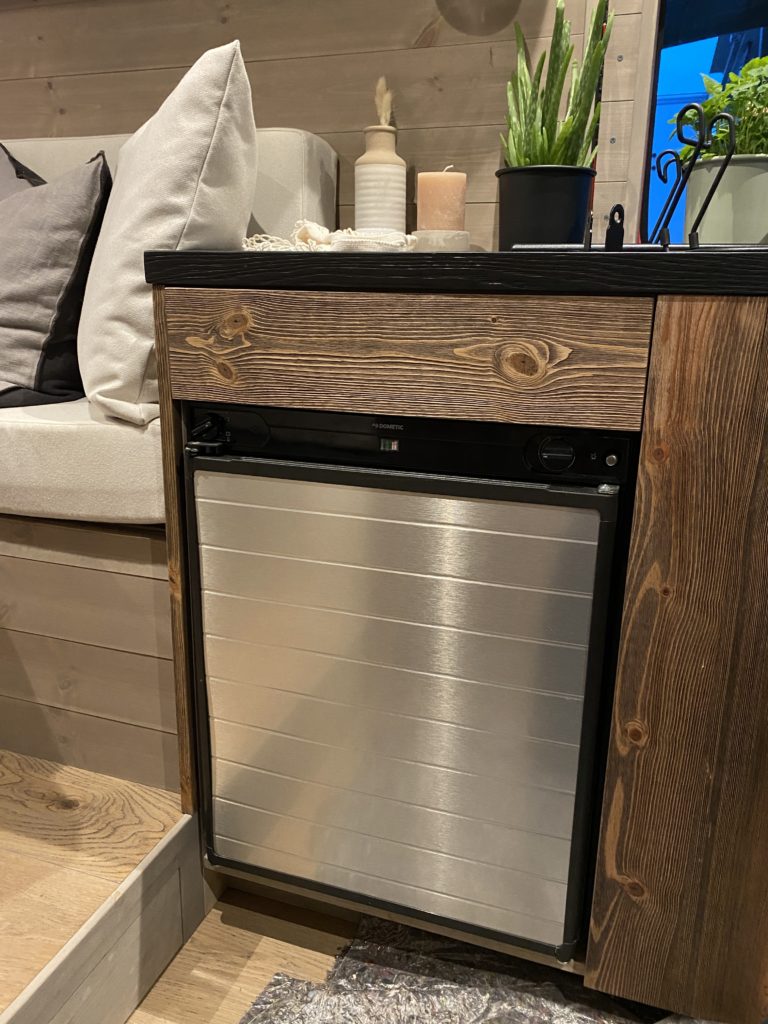
For the fridge, I chose one that runs on both normal electricity, 12 v and gas. I ordered this through Max Fritid. A small and practical fridge where there is room for the most important things.
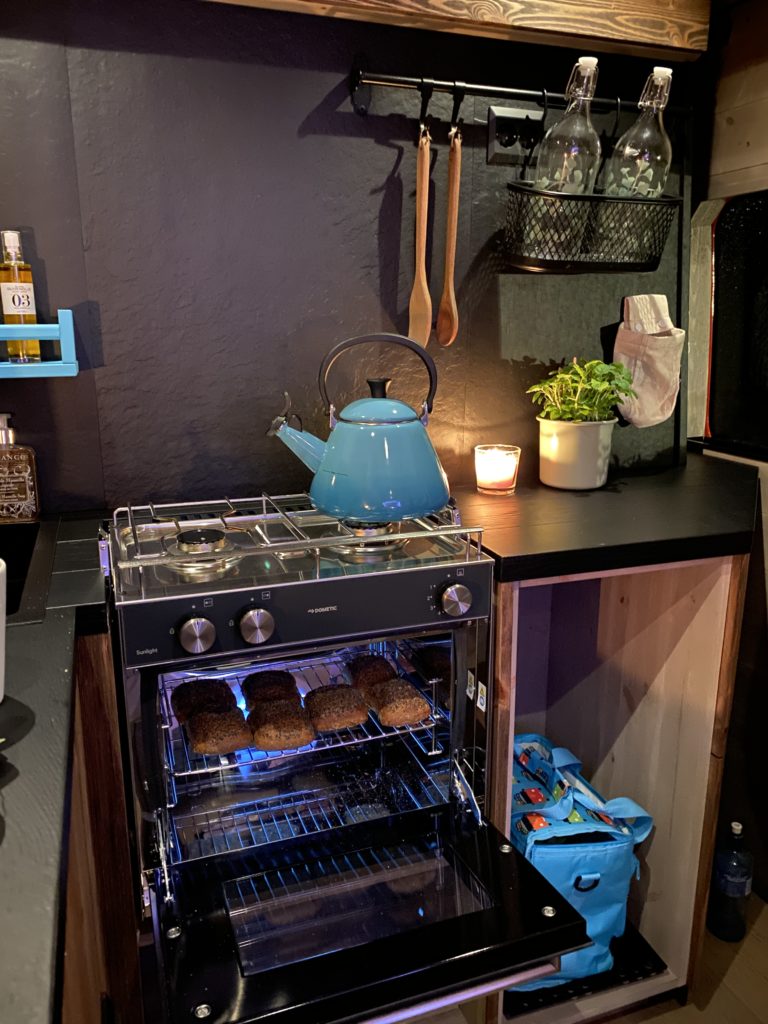
I bought the stove from the Dometic brand at Marineshop.no, and I am very satisfied with it. I chose one with an oven because I think I would like to be able to bake a little in the car, and then it is perfect.
The stove runs on gas.
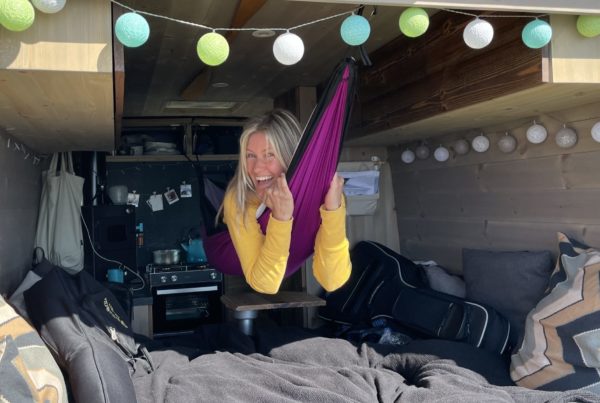
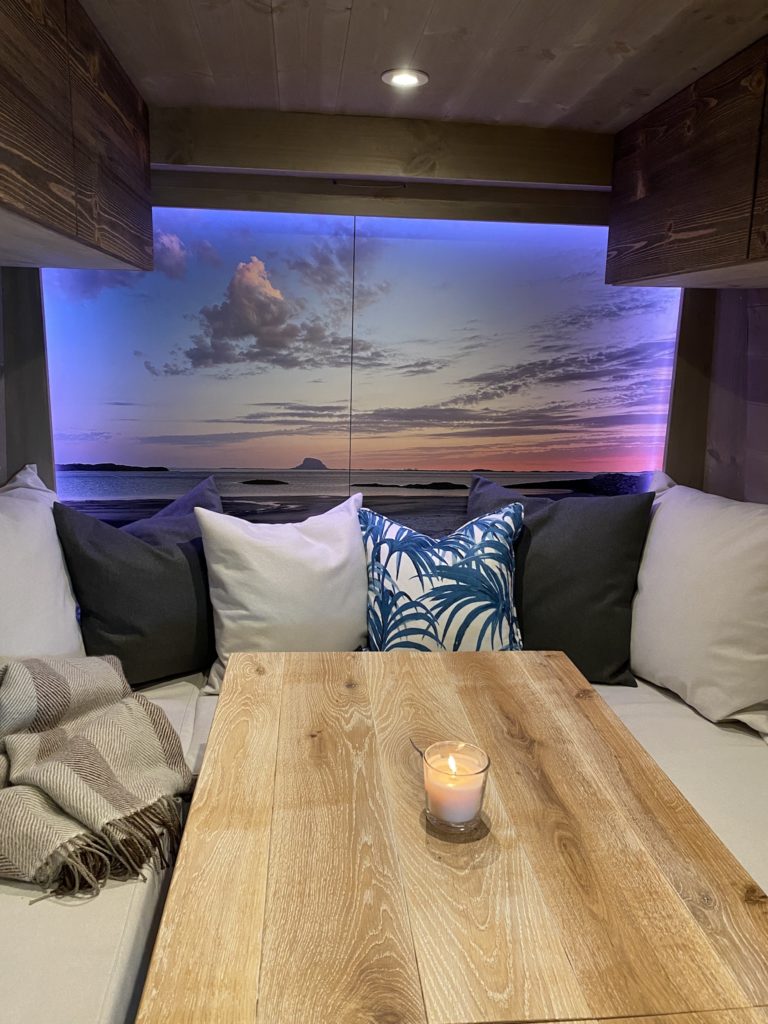
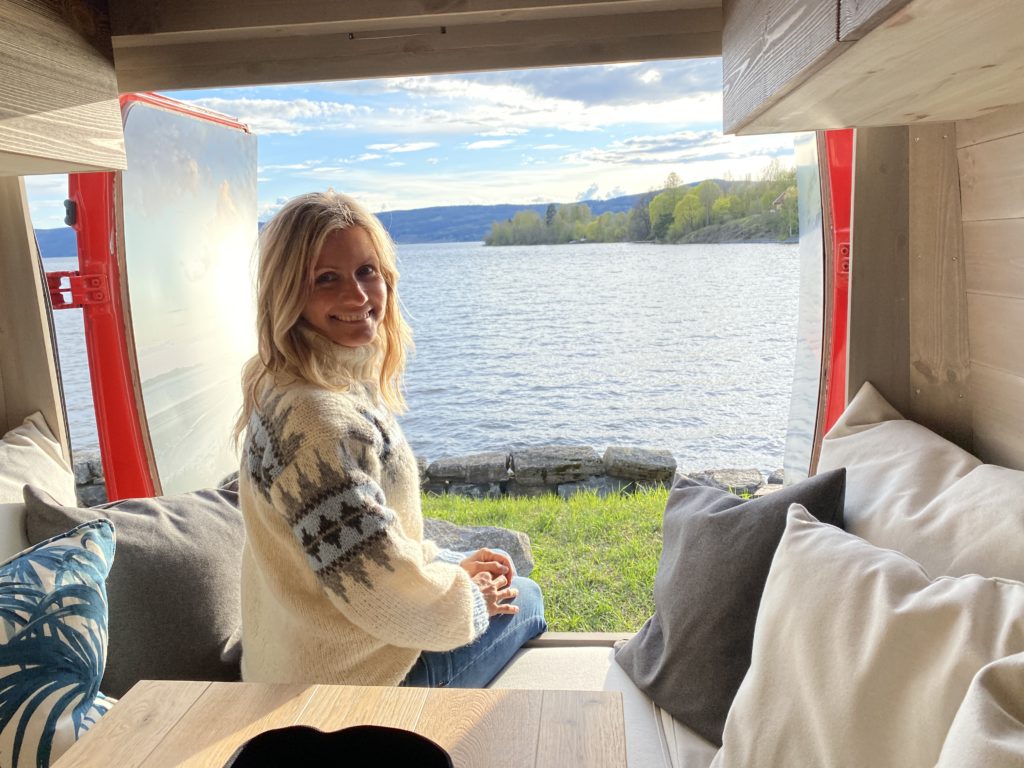
It was also the picture on the back doors. This is from a trip I went on last summer: Tomma on the Helgeland coast with Lovund in the background. I love that place, which is why I chose it as the view in the car.
We have put a light strip around with LED lights in it, and it turned out extra nice.
The image is printed on a type of metal plate that is used for signs/posters and that can withstand being left outside.
And I was sooo happy with it.
The job was done by Pettersen photo.
I also love using fresh herbs, so I had to find a place for that.
Found the perfect place in the "windowsill" on the sliding doors, and then there was plenty of space for herbs. You can see it in the picture above from the kitchen.
I had fittings made by a local incredibly skilled plumber.
He also made fittings so the table can be folded down and the sofa becomes a bed.
More fun and practical details came out of half a year of working on the car. I will come back to these as they are not quite finished yet.
I will also make a separate detailed overview of everything used in terms of materials and price for this project, which will come in another post.
But in the meantime, you can look at some photos from the last part of the construction. Hope you get some inspiration from this if you are ever going to build your own camper van.
It is really recommended 😀
It was a bit difficult to hang a mailbox on my new home, so the mailbox was made by SecPro and fit perfectly on the outside of the car 😉
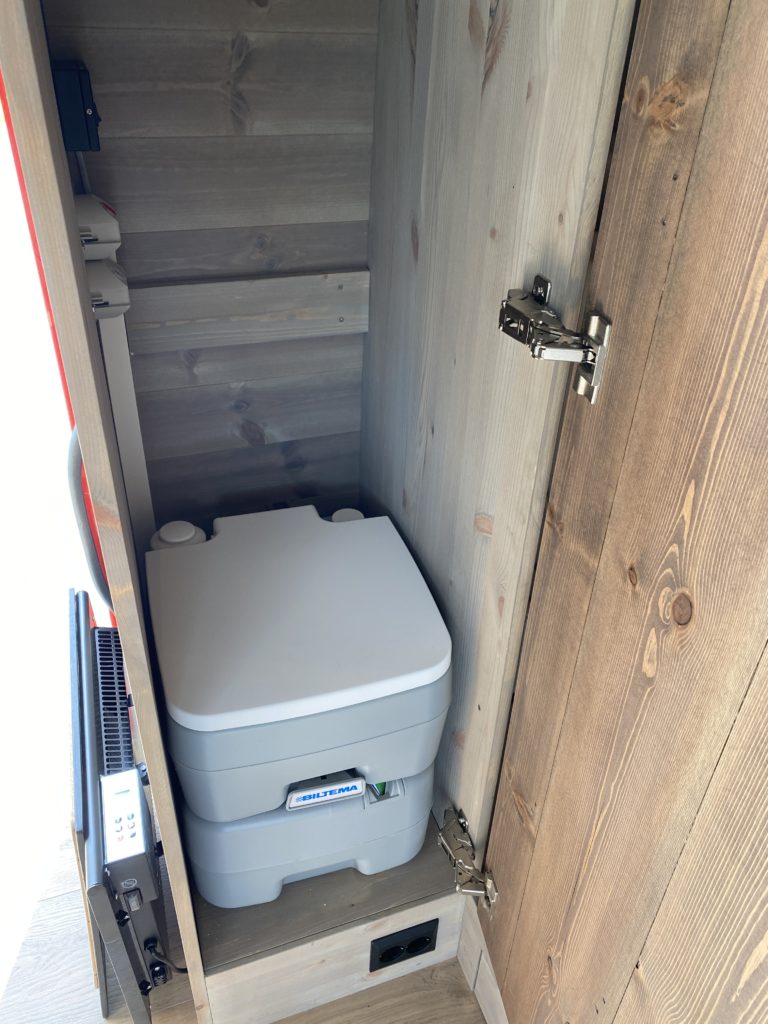
There is not a lot of space in the car, but I thought I would have room for a toilet. And that was it... At the bottom of the tall cupboard there is a porta potty, so you have one in case of emergency 😉
I have had the shower made by the skilled Arne Martin, who manages to get most things done. There will be more information about this later as it is hung outdoors.
So nice of you to follow my page, I really appreciate it. Now the trip around Norway starts, so I hope you will join us on the way further too 🙂