I would like to post a small overview of what has been done and used to get the electrical system in my campervan in place.
Hope you can benefit from this if you are considering building your own camper van, or not least have bought a car and are about to start the project.
Battery for living room (secondary battery):Skanbatt Lithium Heat Pro
The battery must be adapted to Nordic conditions. This means that the batteries can be charged without problems at sub-zero temperatures since the battery has a built-in heating foil. You can read more about the battery at feelfreecamp.no.
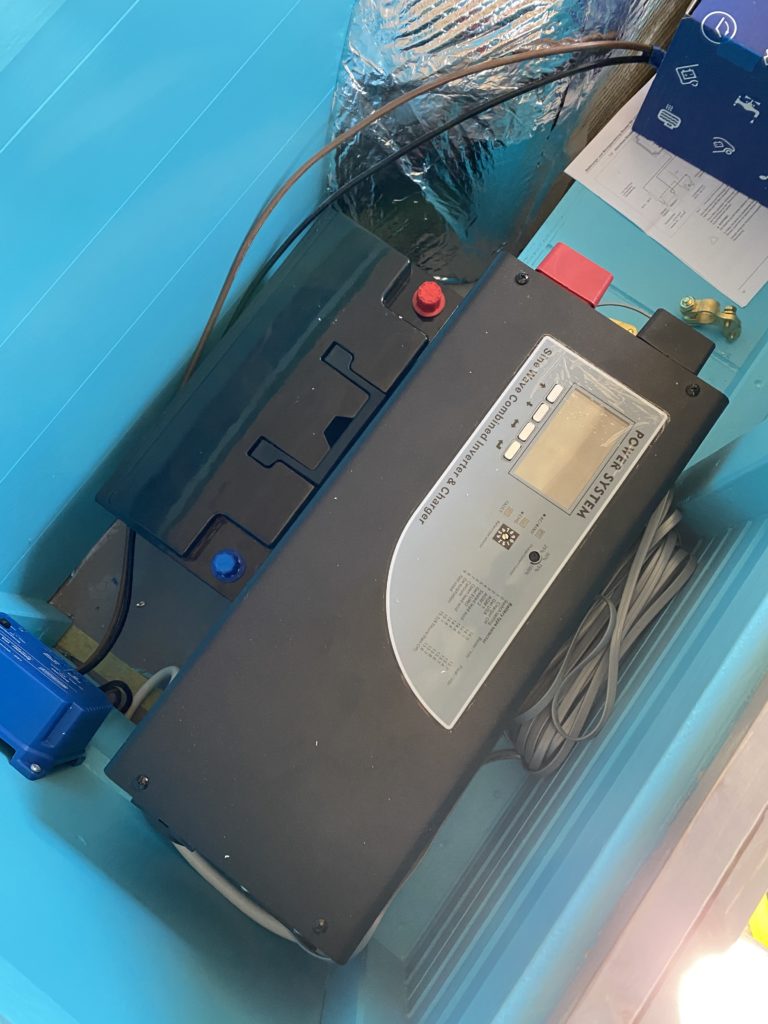
Combined inverter and battery charger:(Power Star Kombi sine inverter 12 v 2000 w/Battery charger 65A w/remote control)
When the car is connected to 230 V via shore power, this charges the battery and operates the system.
When the car is not connected to shore power, it converts 12 v to 230 v.
Charging the secondary battery when the car is driven:
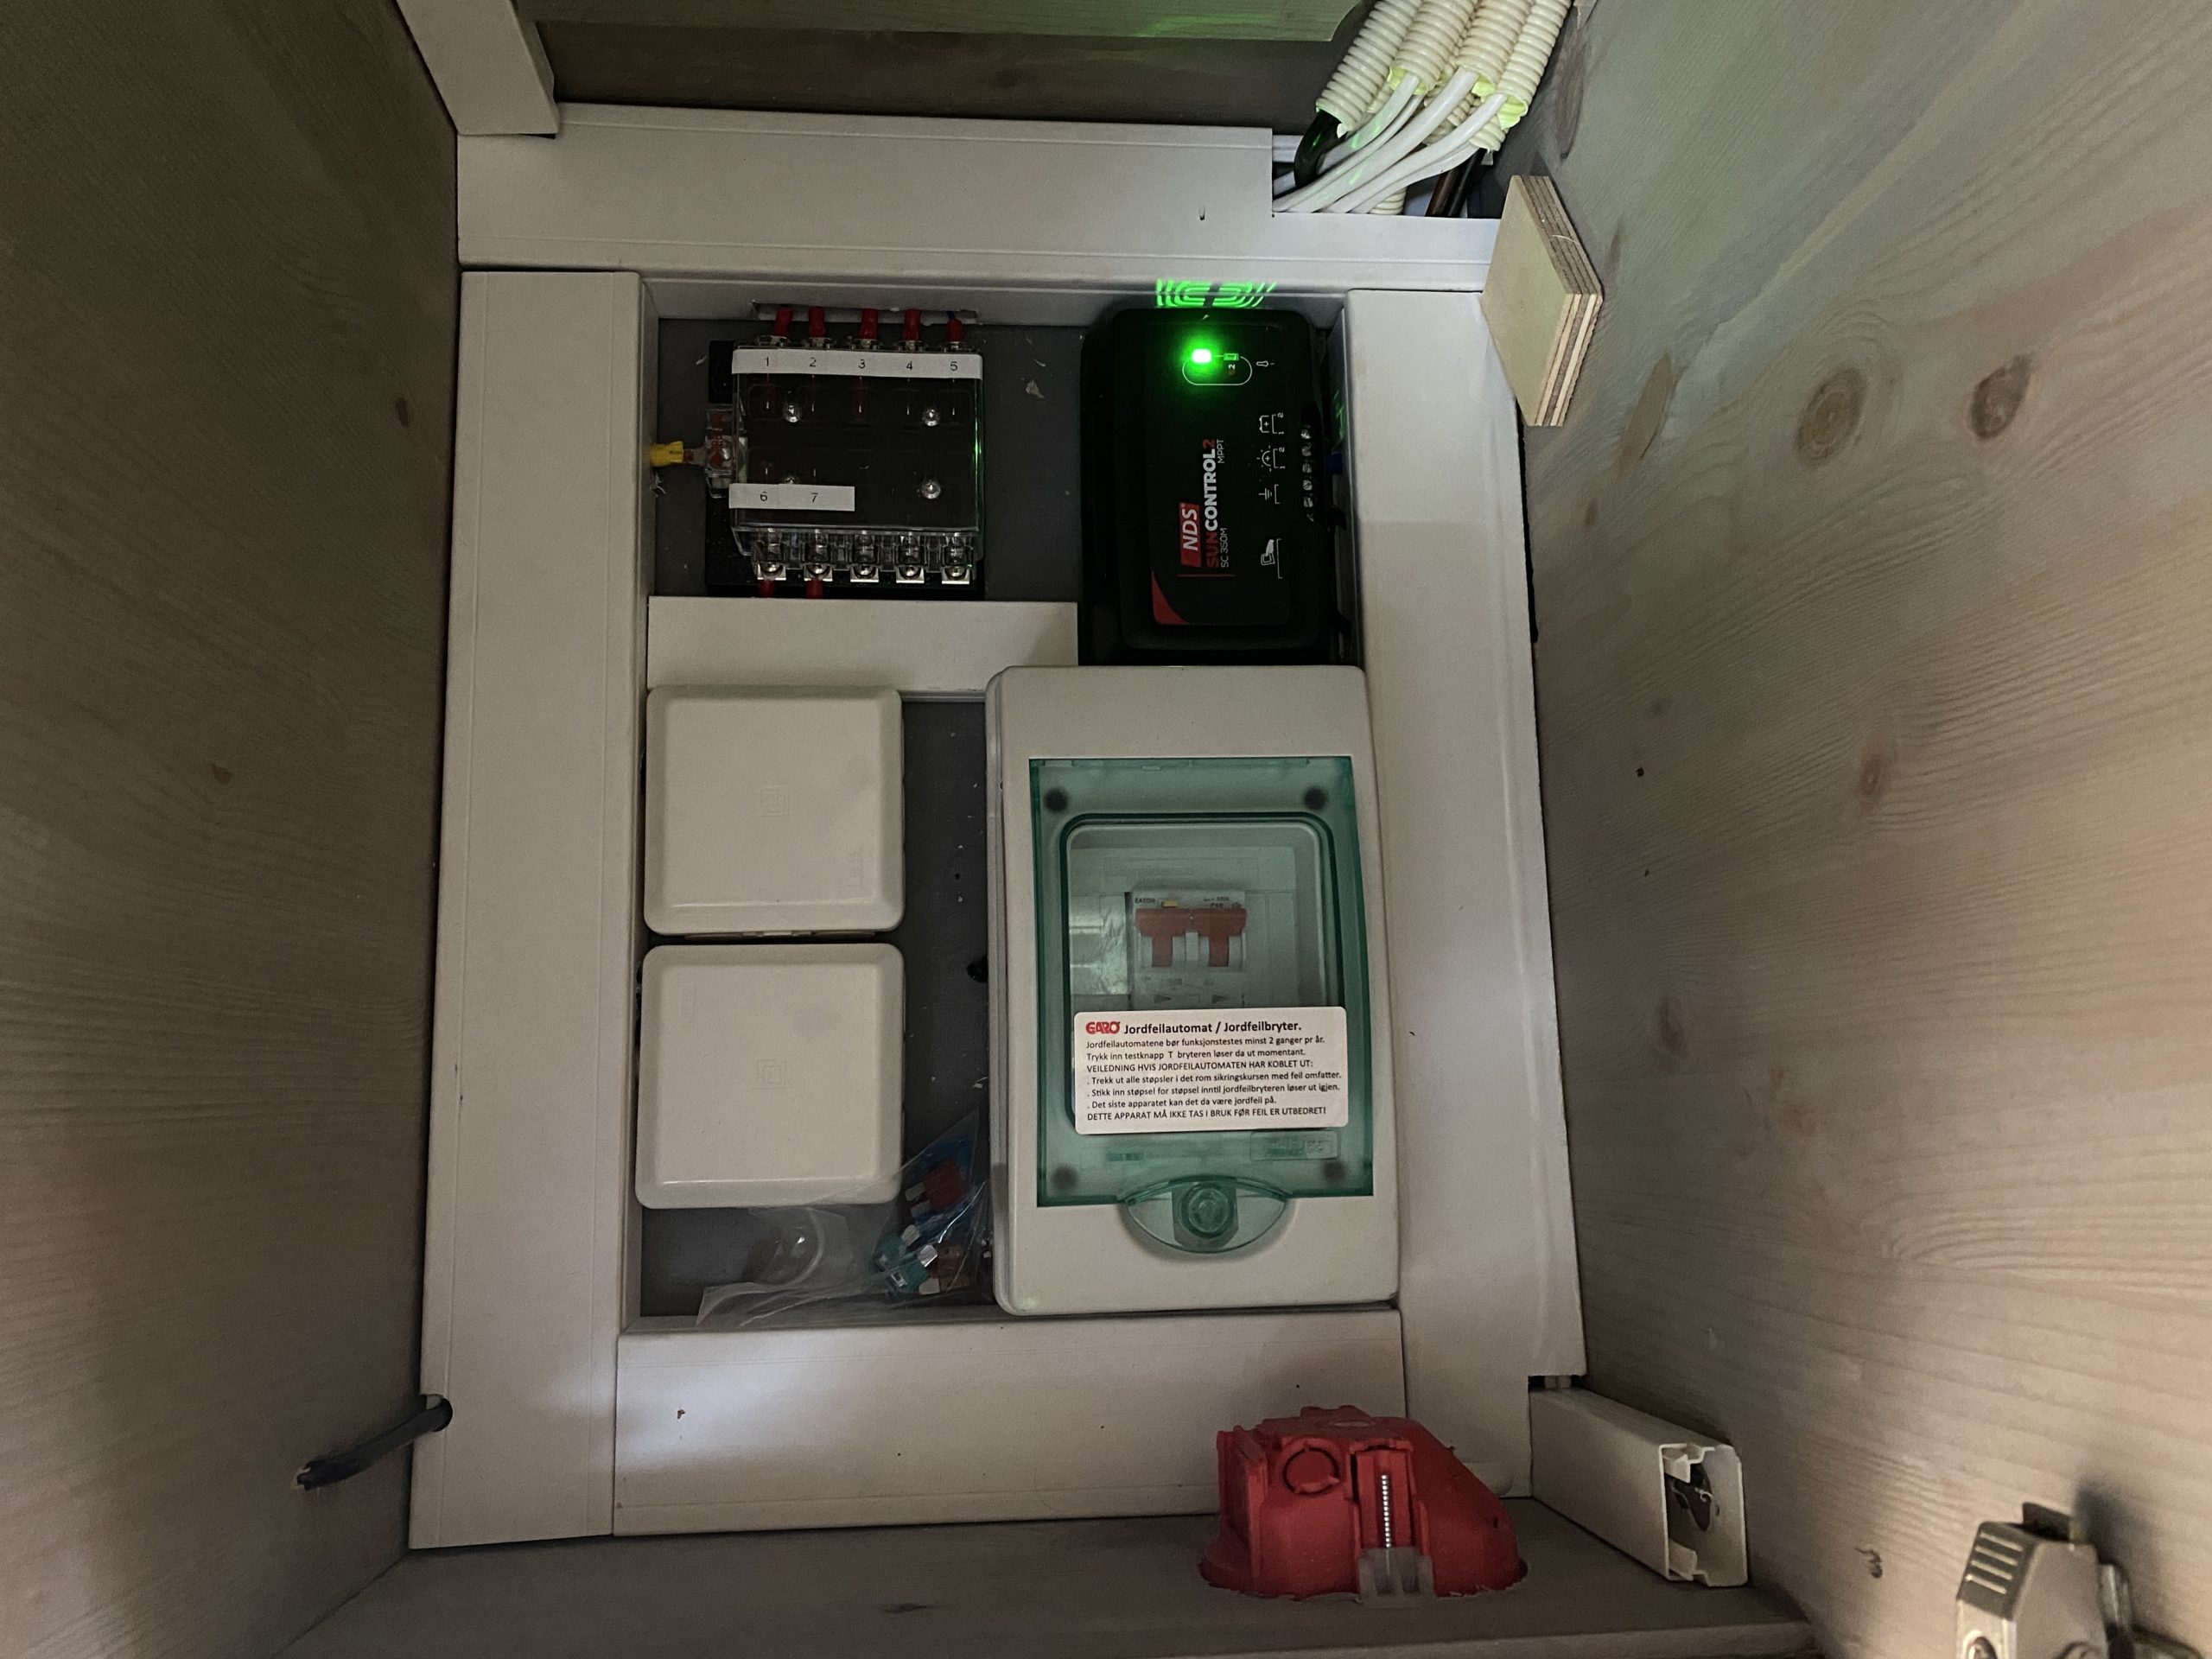
DC DC charger (blue box in the picture above) charges on direct current (12 v). This is disconnected from the car's battery and goes to the DC DC box, then to the secondary battery.
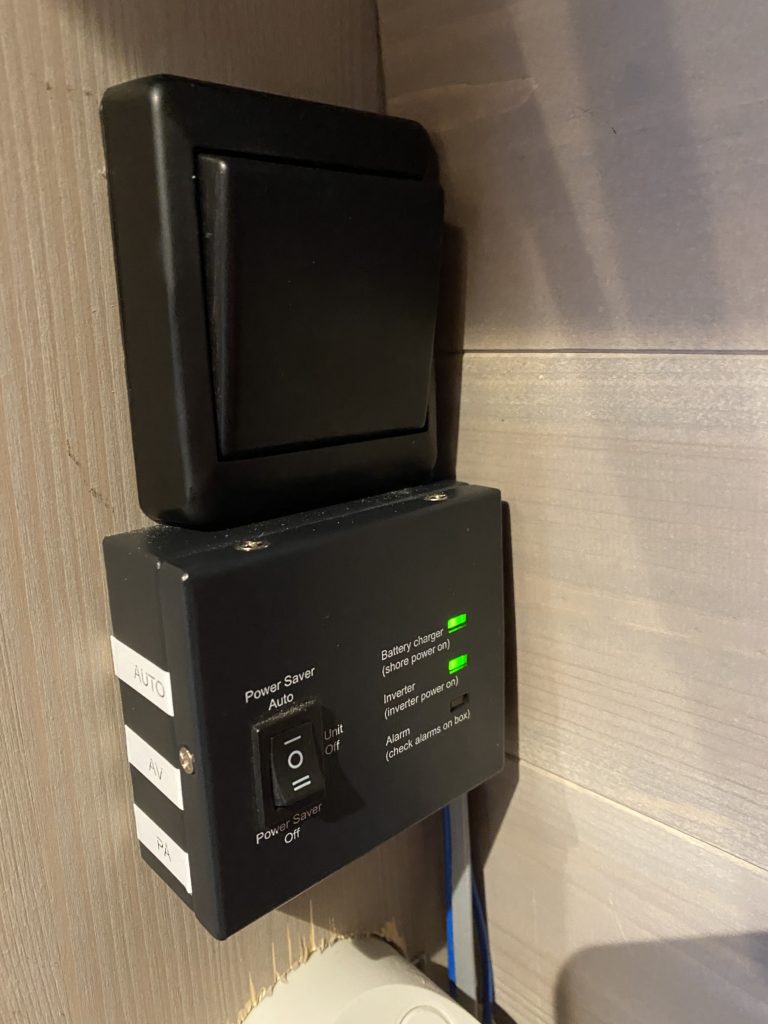
Two boxes with switches have been made in the tall cabinet, of which the top one (in the picture below) is the switch that I switch on and off as I want to charge the secondary battery when driving.
230 V:
It can be connected to shore power (230 v) through a connector at the back of the outside of the car.
One of the sockets inside the car can be used regardless of whether the car is connected to shore power or not so it is possible to charge a PC etc. This drains the secondary battery quickly, but nice to have the option. The remaining 230 v sockets only work when the car is connected to shore power.
The bottom box in the picture below controls charging manually via 230 v.
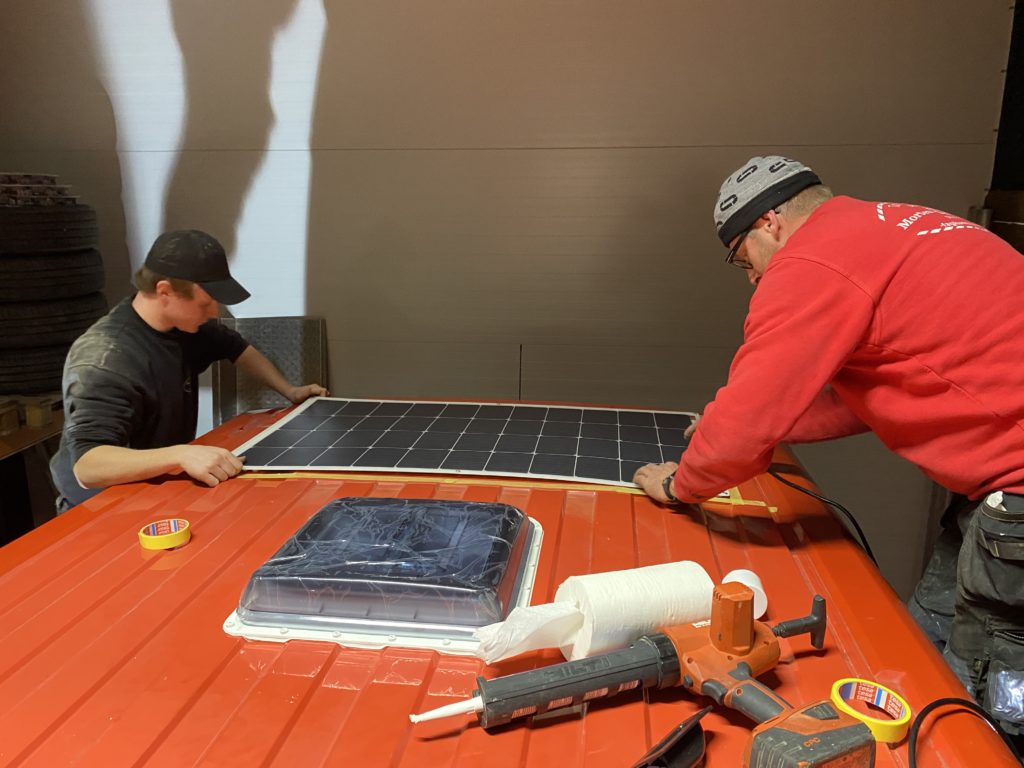
Solar panel:Solarflex 150 watts.
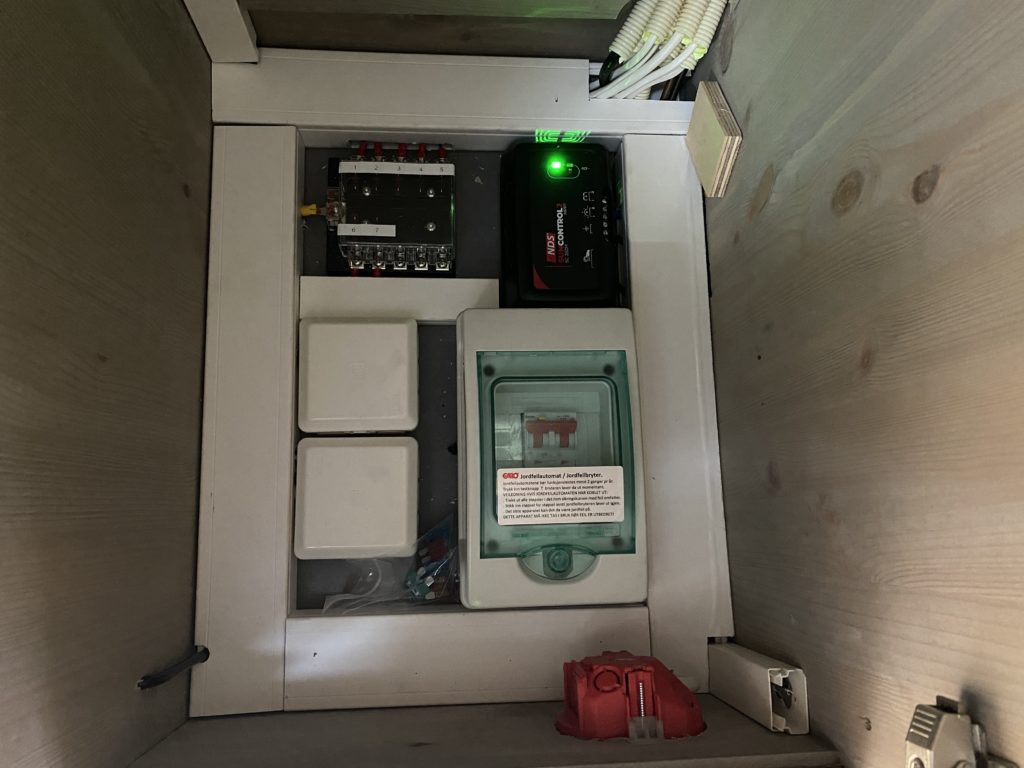
This is connected down in the solar control box and goes from there to the secondary battery in the car. This is connected so it works by itself and I don't have to think about anything.
The solar control box and fuse box at the bottom of the tall cabinet.
Heat:
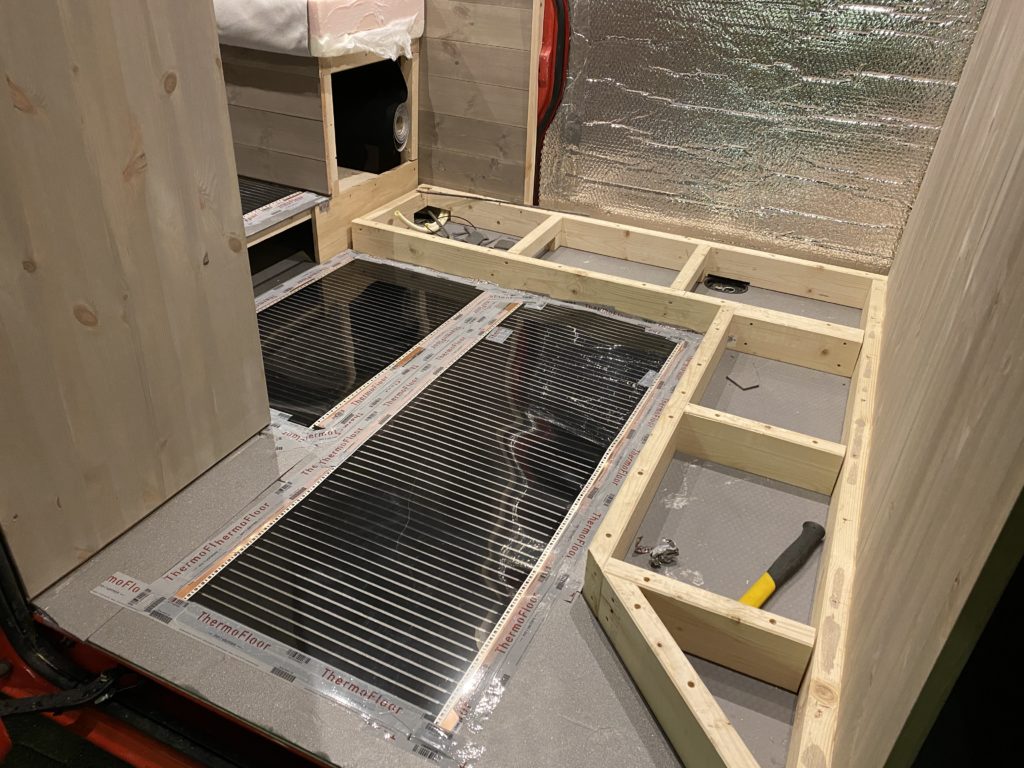
Underfloor heating with heating foil from Thermafloor, which is only active when the car is connected to 230 V.
A small panel oven that only works on 230 v.
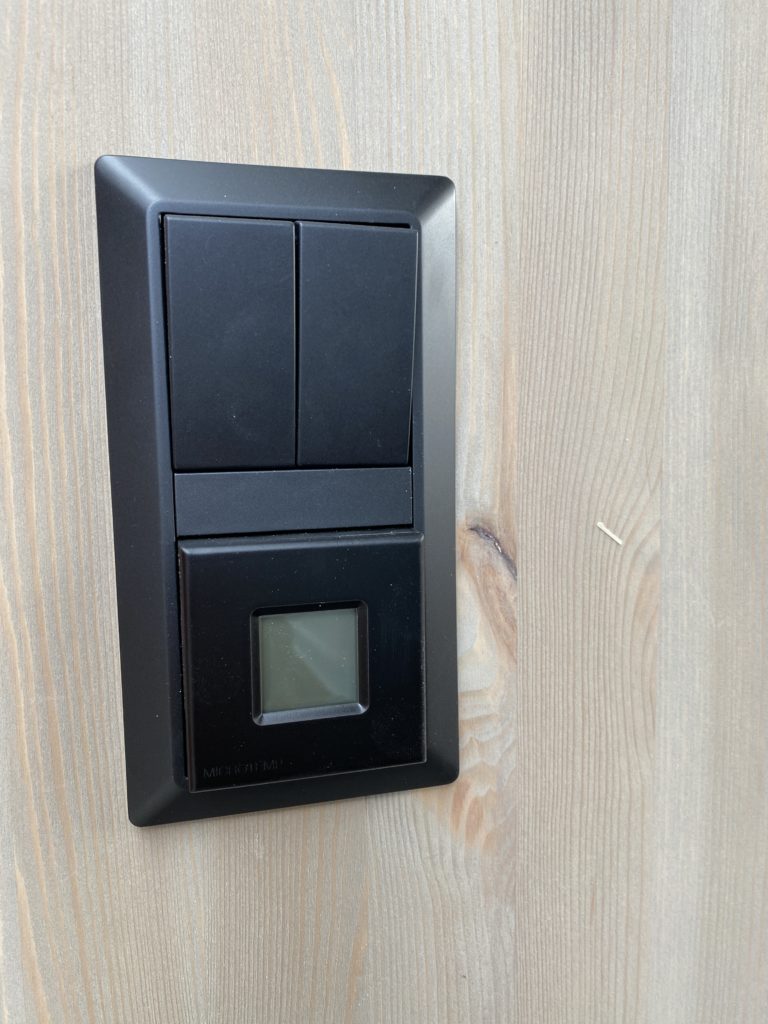
The heating foil is controlled via a switch mounted on the tall cabinet.
There is also the switch for spotters in the ceiling 12 v and led light strip which is placed around the rear doors by the picture.
All lights can be dimmed.
Ledix led receiver from Hyttetorget is used here.
I haven't decided how to heat the car for the winter and am working on getting a wood stove. Possibly it will be Webasto.
More info on this to come.

Several 12 v/230 v sockets have been inserted around the car and everything is secured by fuses.
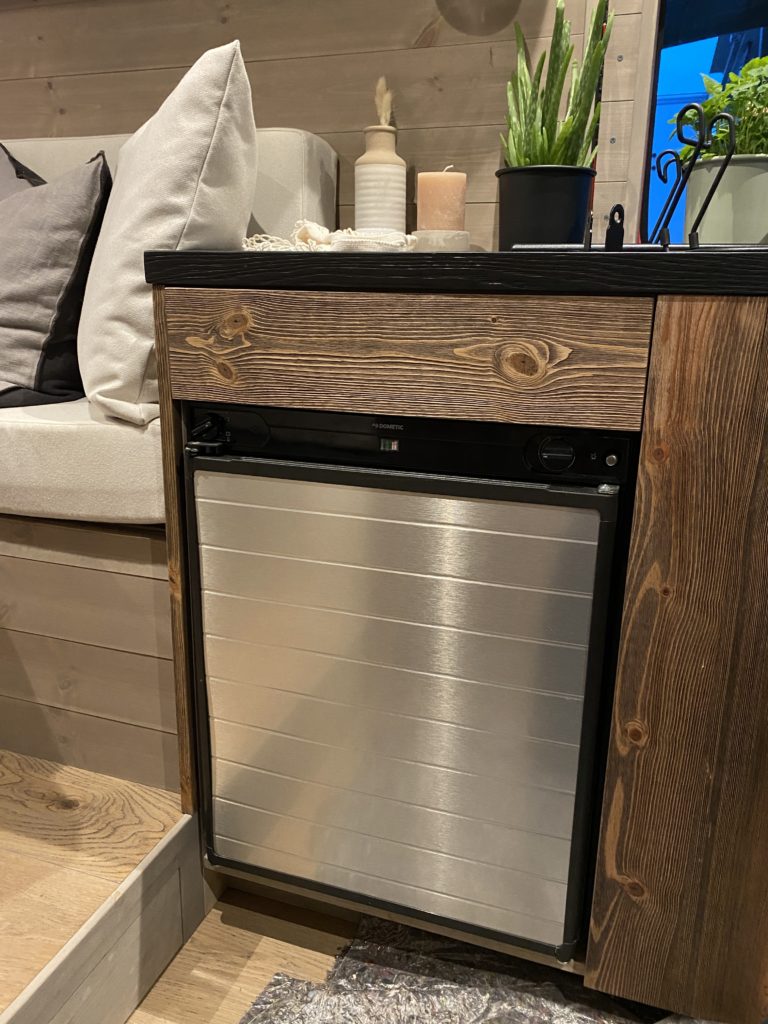
The refrigerator runs on gas, 230 v and 12 v. When using 12 v, the battery is drained within a few hours, so this is not recommended.
I only use it on gas or 230 v.
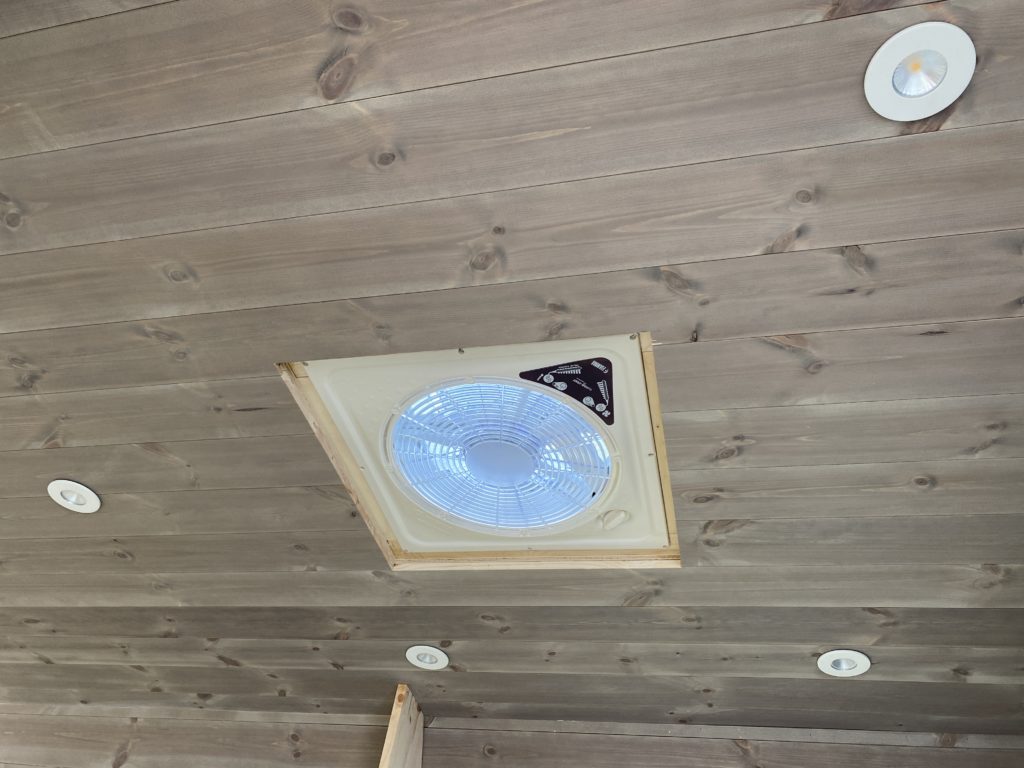
Sunroof:(Fiamma Turbo Vent Premium)
This provides good air circulation in the car.
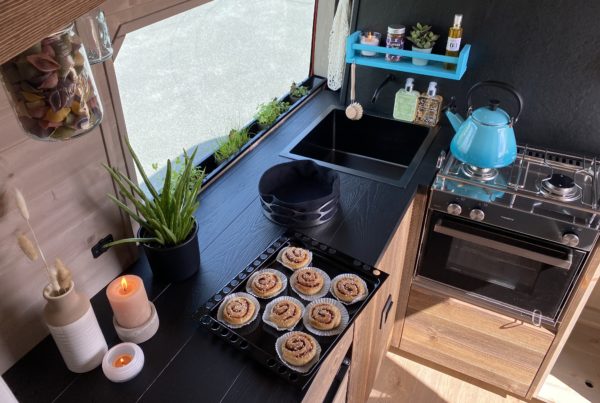
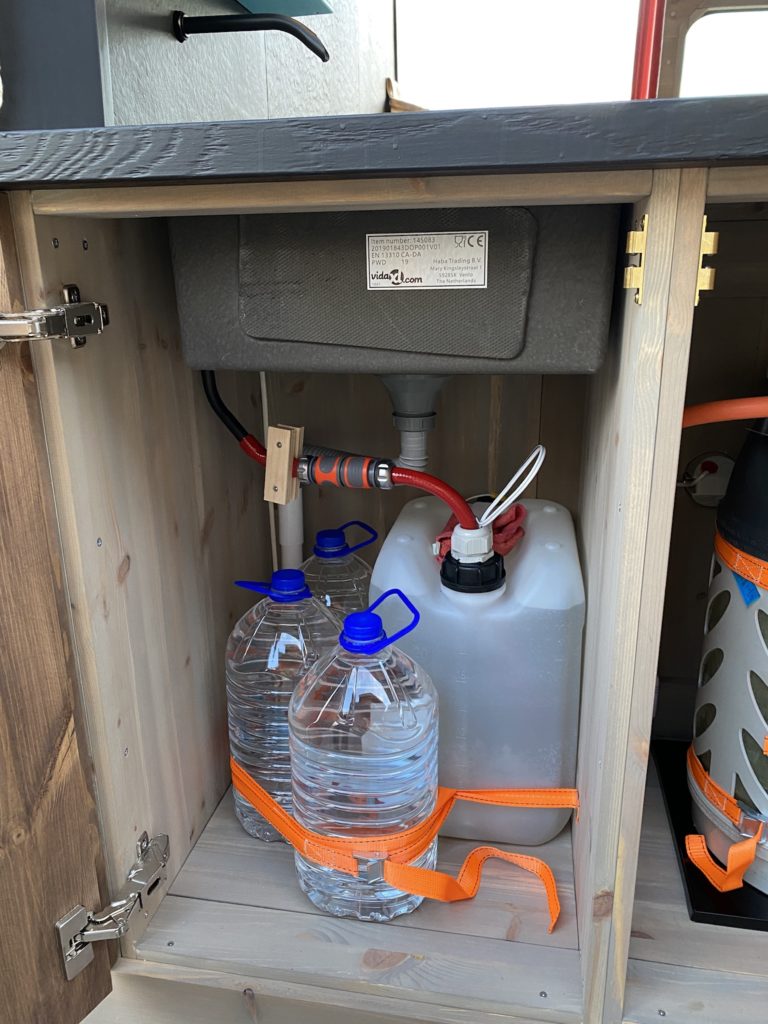
Kitchen faucet:
This is driven by a water pump controlled by an impulse switch.
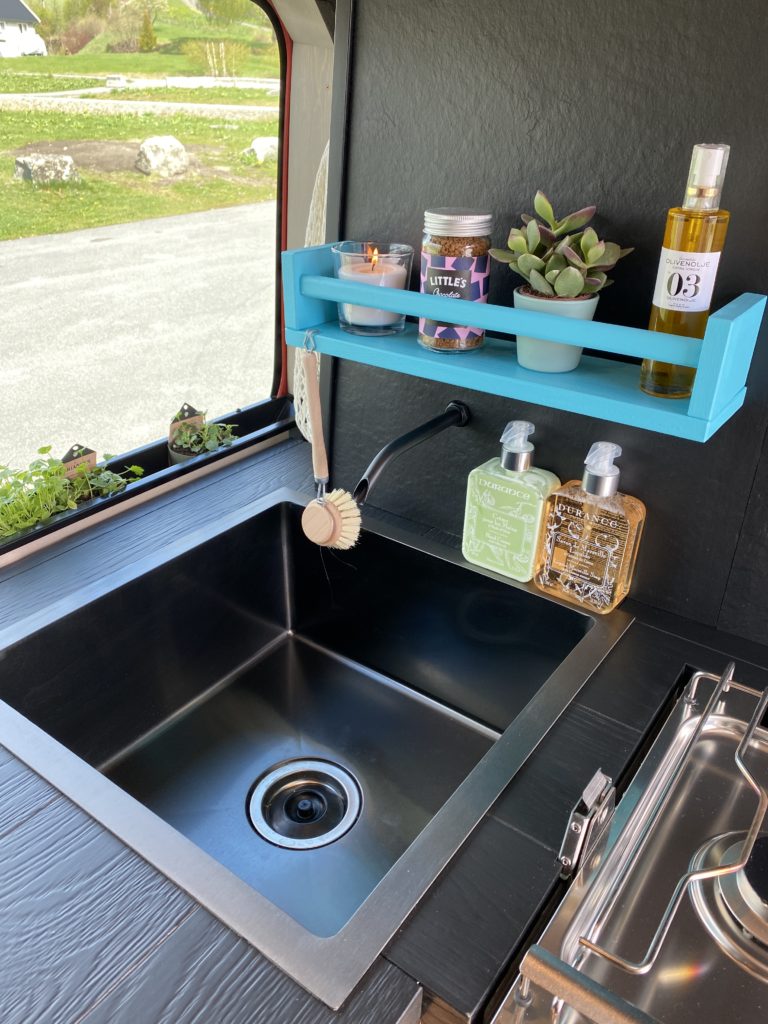
The switch for the water is placed at knee height during washing so both hands are free (see picture below).
Gas alarm:
This is placed in the cupboard by the gas, (which is in a separate room with ventilation) and is at a constant 12 v. This is from Elektroimportøren.
If you have any questions, don't hesitate to get in touch
Hope to see you along the way.